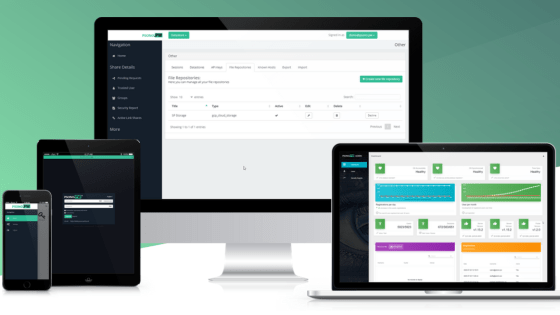
OneCLI is a free AI agent that can be used by teams of multiple people, not just one, and is open source and self-hostable.
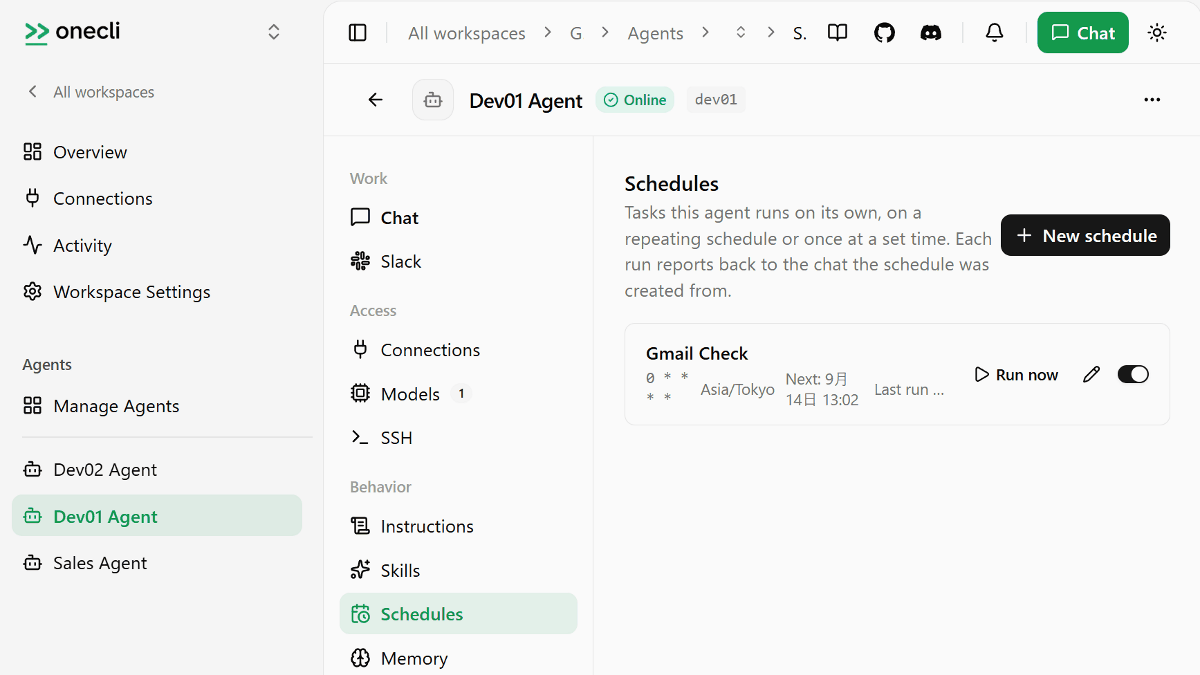
Implementing an AI agent for each employee requires individually managing their execution environment, API keys, available services, and permissions. The open-source ' OneCLI ' solution allows for the centralized management of authentication information and access rules at the team level, while assigning a dedicated AI agent to each member.
OneCLI - A Personal Assistant for Every Employee
onecli/onecli: Open-source sandboxed agent harness for teams. Giving every employee a secured personal agent.
◆How to use OneCLI as a team
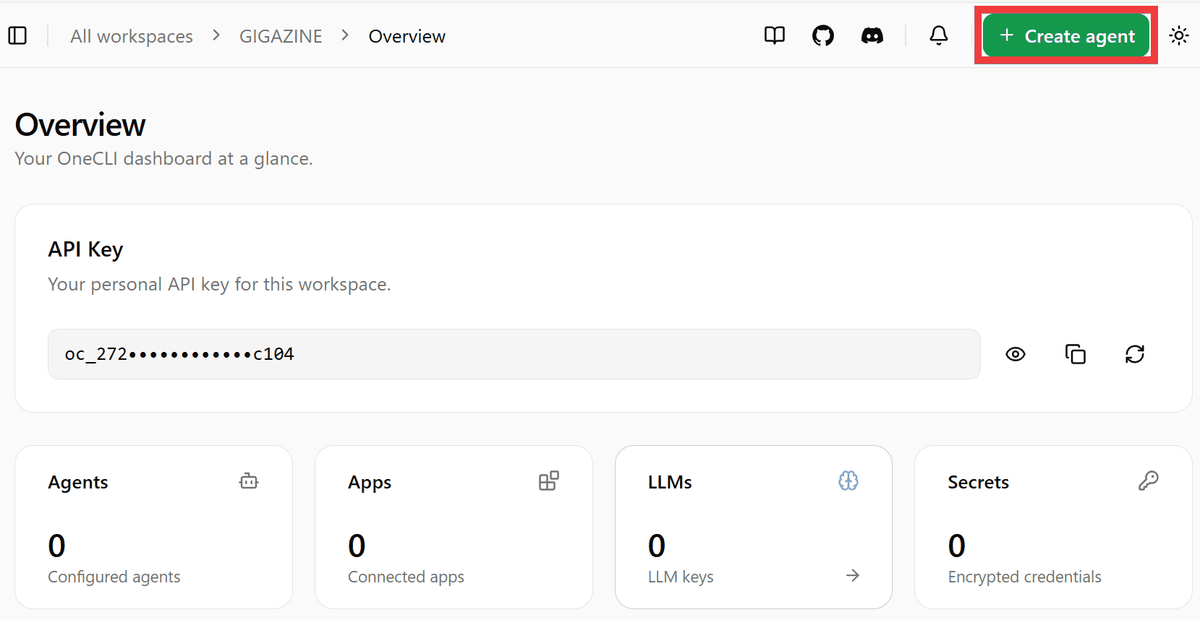
Log in to OneCLI in your browser and click 'Create agent' in the upper right corner of the dashboard.
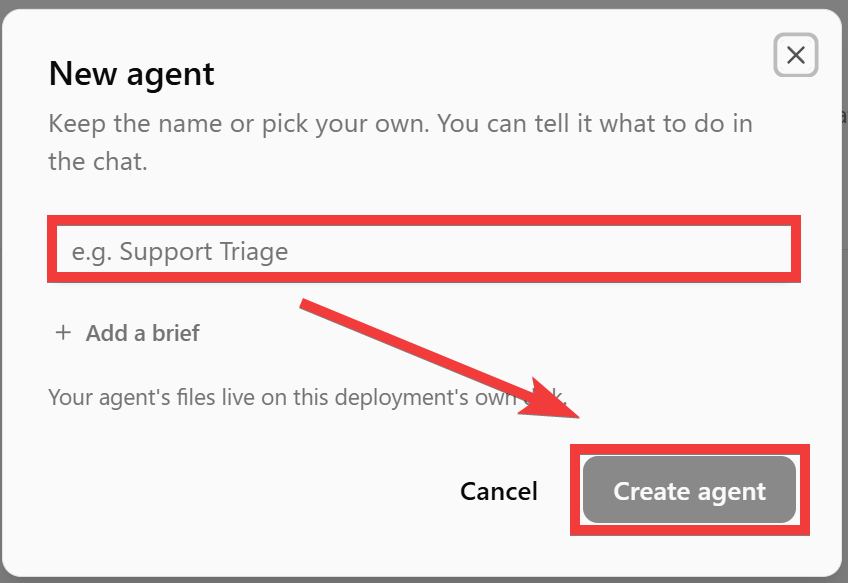
A form for creating a new agent will appear. Enter a name of your choice in the input field and click 'Create agent'.
Select the AI provider you want to use.
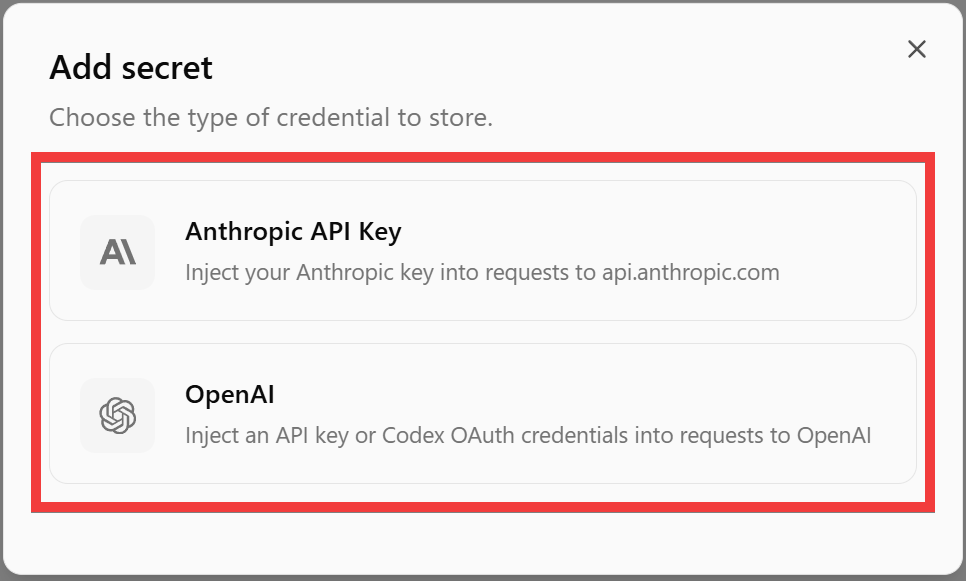
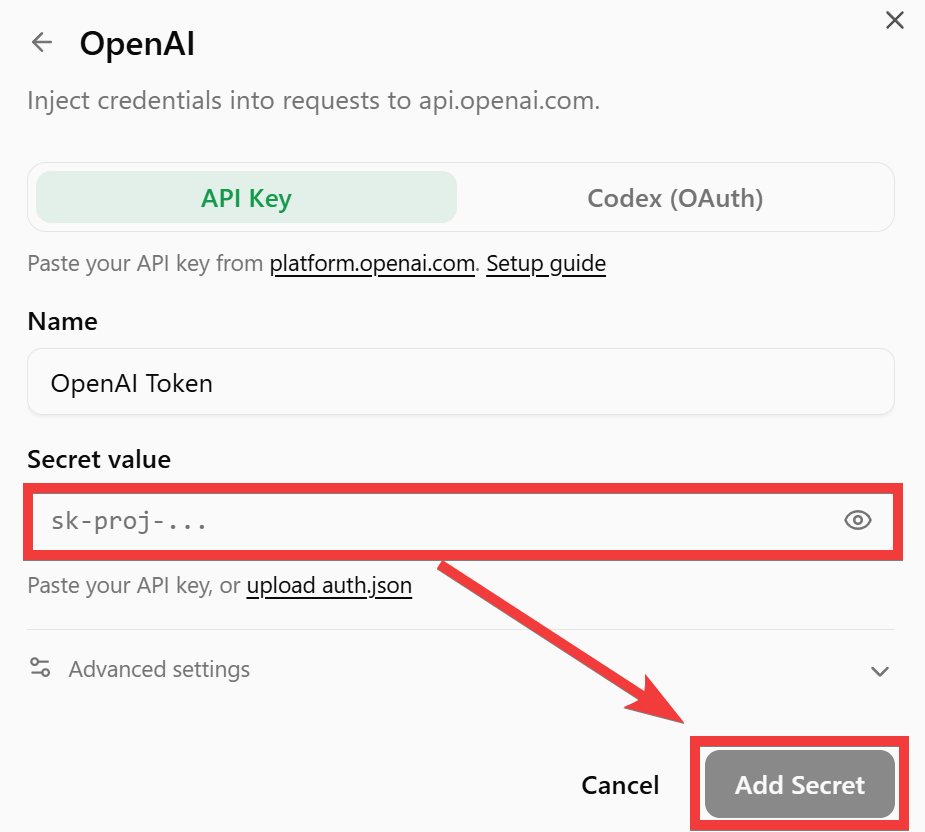
Enter the API key of your selected AI provider in the 'Secret value' field and click 'Add Secret'.
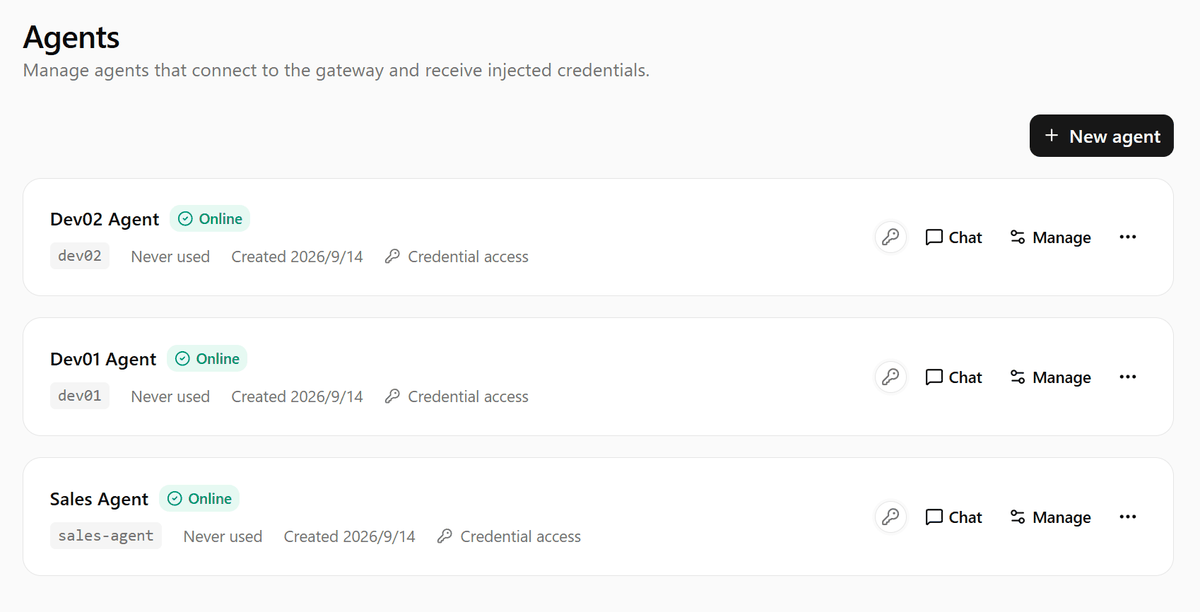
The agent will be registered. By registering multiple agents as shown in the image below, you can manage them on an individual basis or
It is possible to use different agents on a team basis.
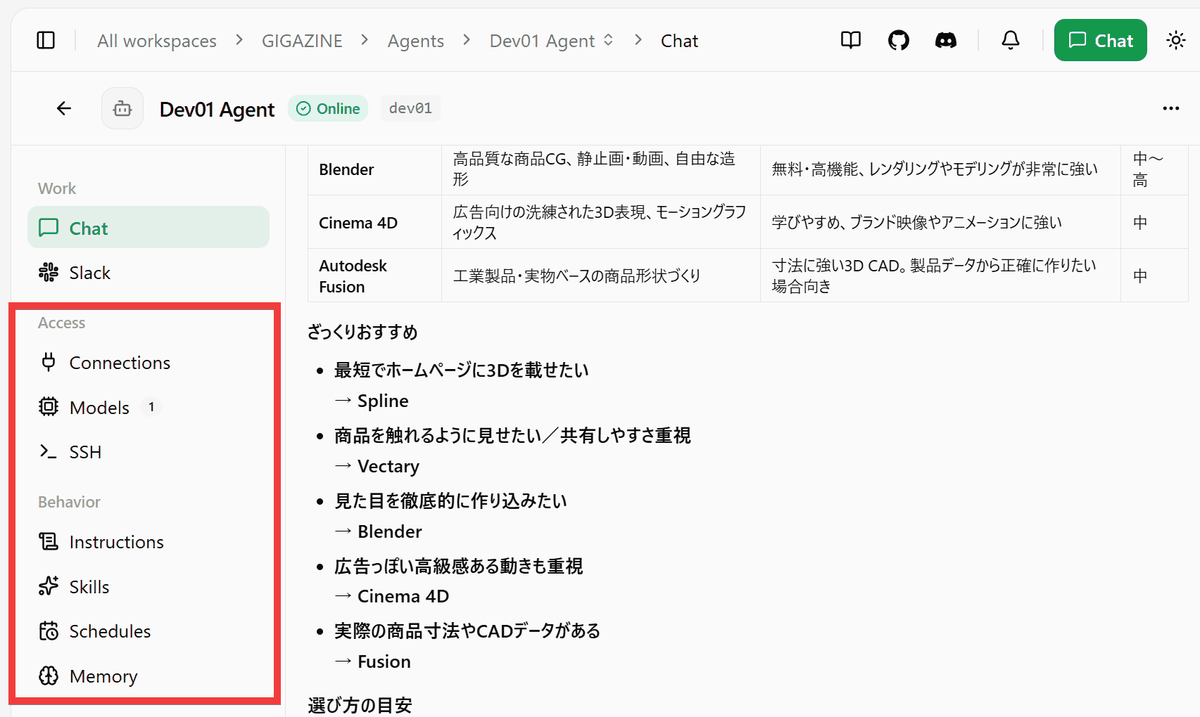
Each AI agent you create has its own independent conversation screen, allowing you to send instructions just like with a regular chat AI.
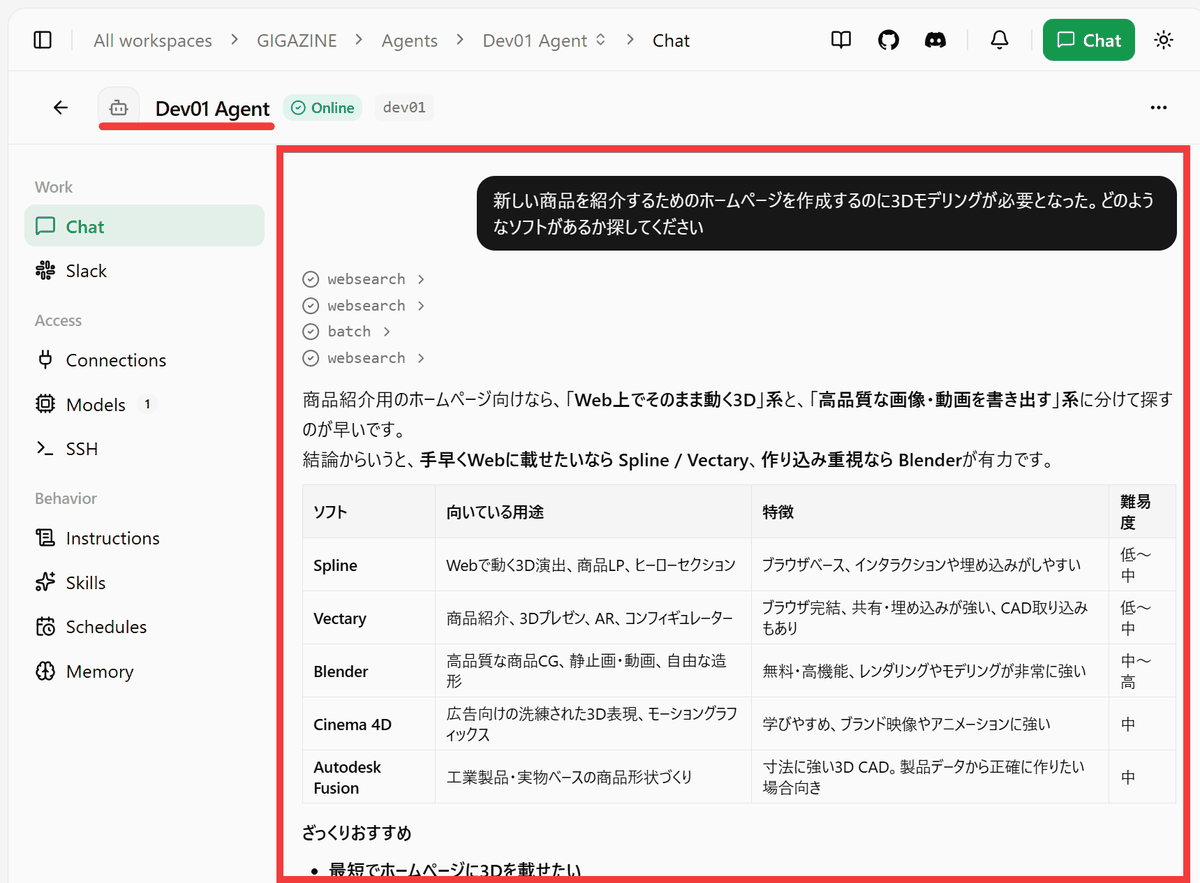
Each agent has its own independent Sandbox, Memory, Skills, and Schedule, allowing for different environments tailored to the user and their specific needs.
◆ Use external services without showing the API key to the AI
By managing integration and authentication information with external services on the OneCLI side, you can use API keys for external services without directly writing them into conversations with the AI or files within the Sandbox.
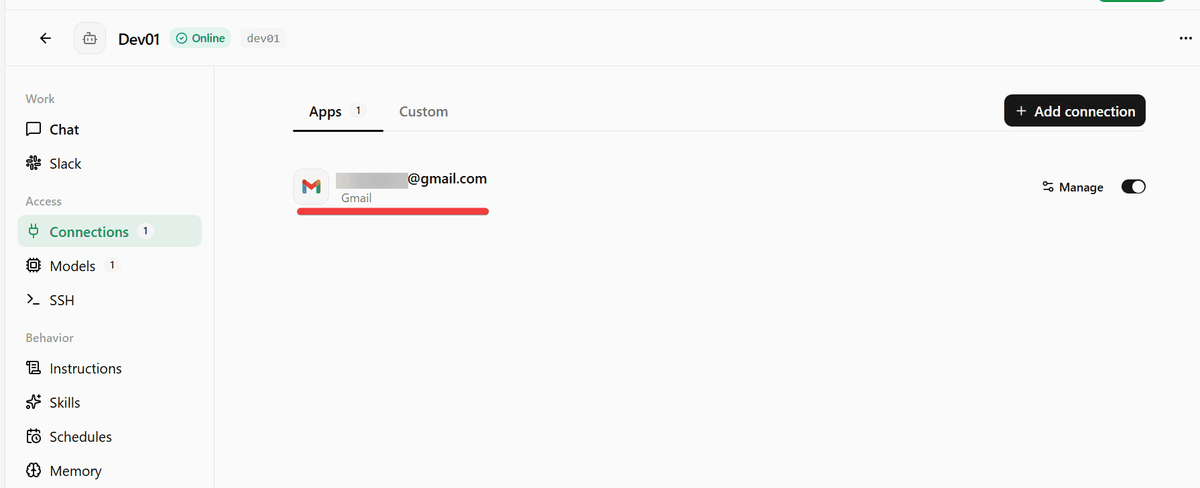
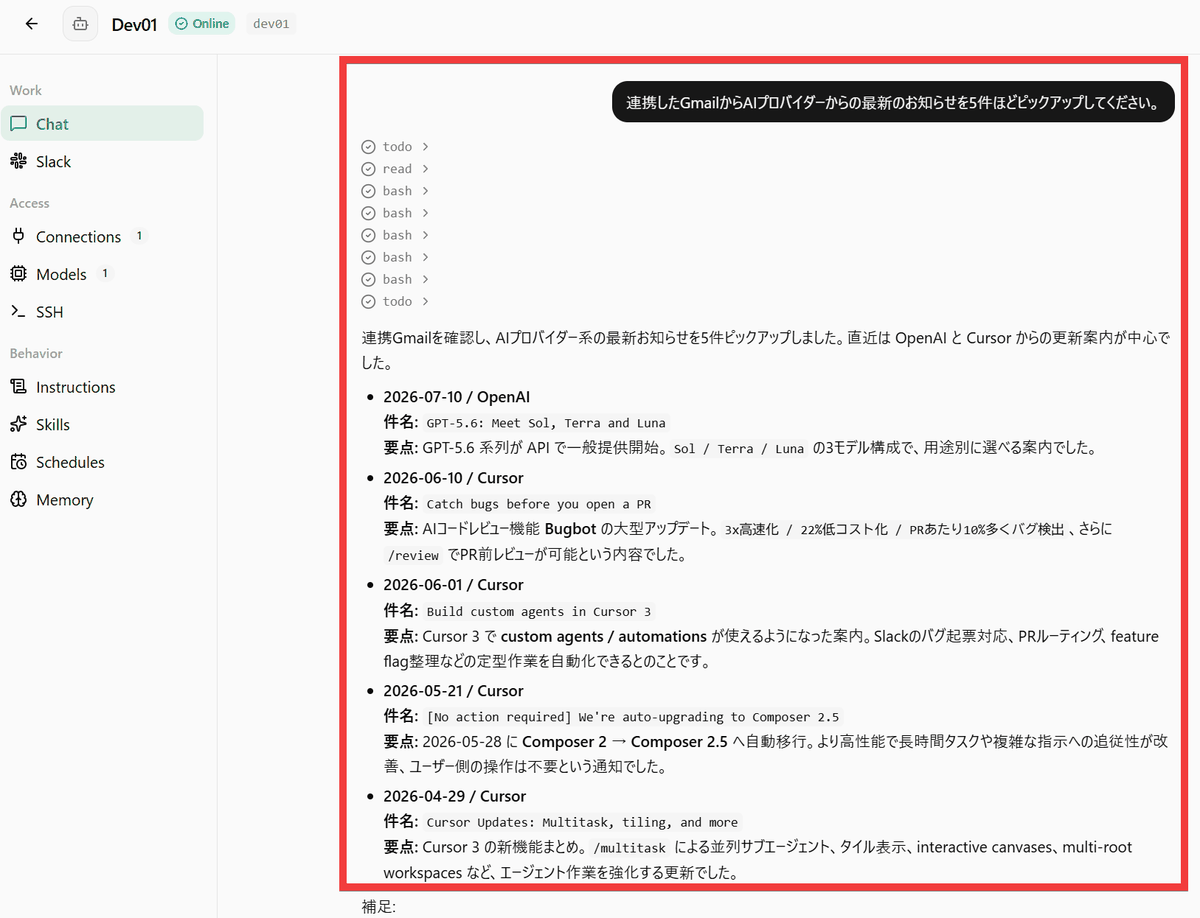
As a test, after linking my Gmail account, I instructed it to 'pick up the latest information from AI providers within the linked Gmail account,' and it returned the results of a search within Gmail.
◆Continue working with Sandbox, Memory, and Skills
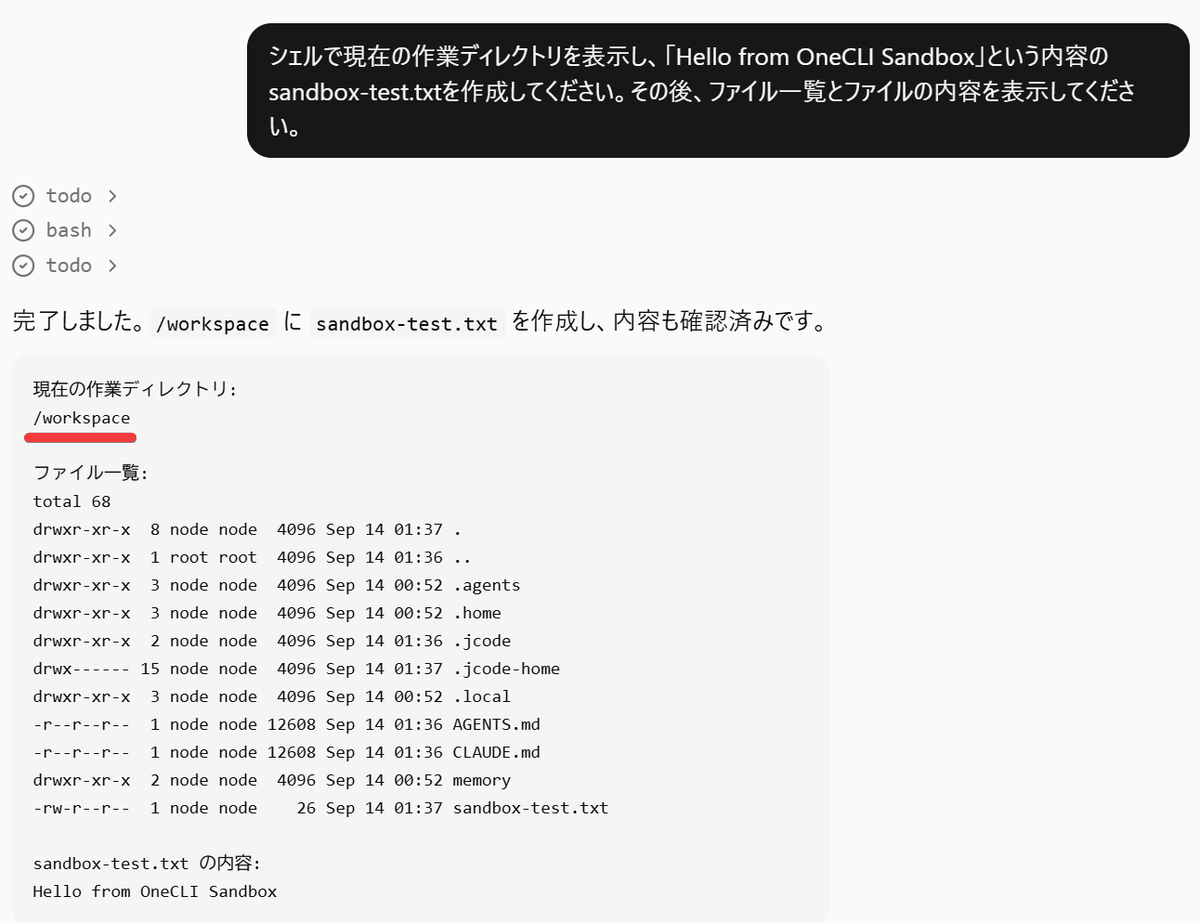
Each AI agent is provided with an independent Sandbox equipped with a file system and a shell. When instructed to 'display the current working directory in the shell and create a file named sandbox-test.txt with the content 'Hello from OneCLI Sandbox', then display the file list and its contents,' the result, as shown in the image below, confirms that the work is being performed in an isolated location called /workspace.
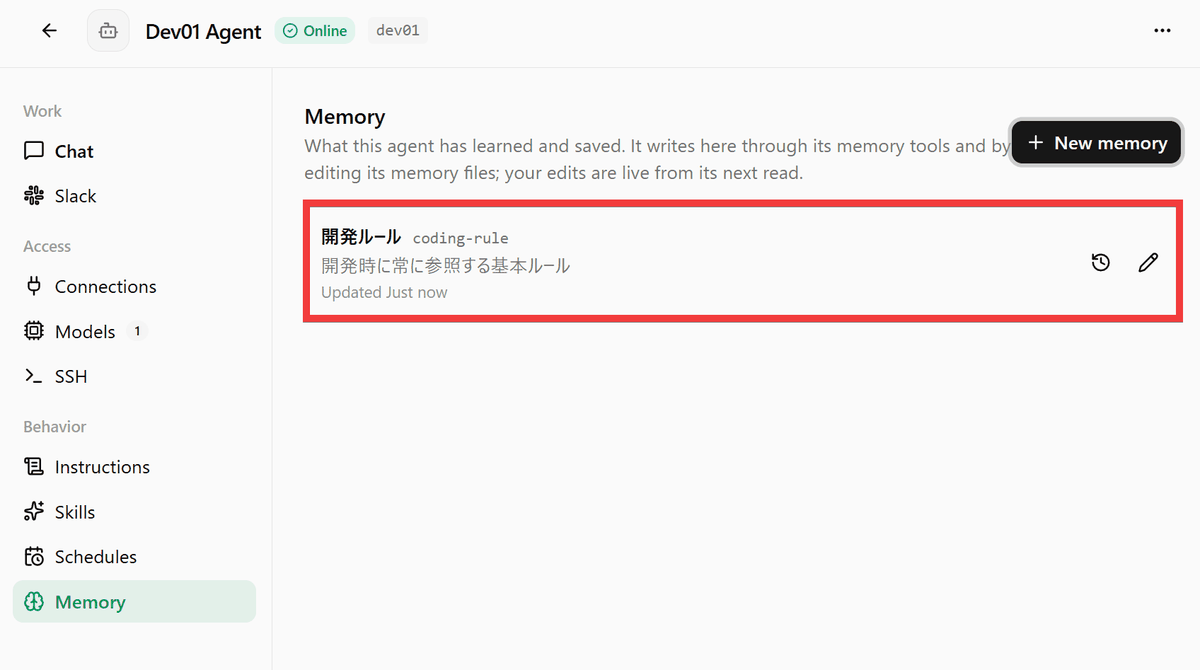
Information that you want your agent to always be aware of during chat can be registered as 'Memory.'
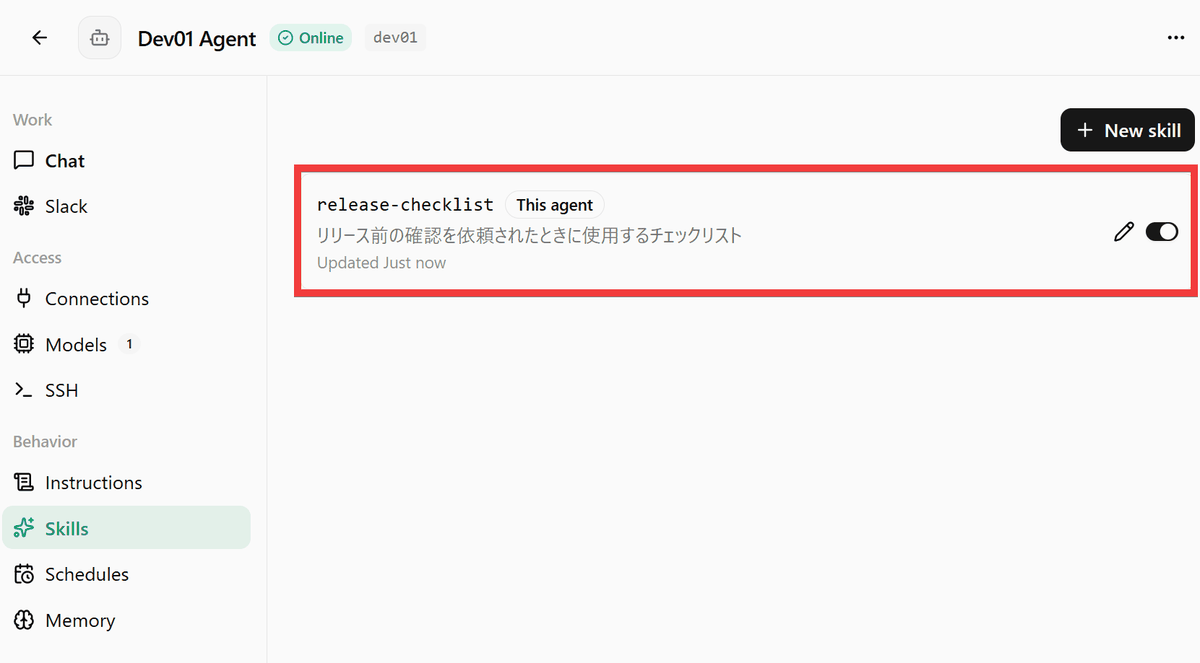
Frequently used work procedures can be registered as Skills.
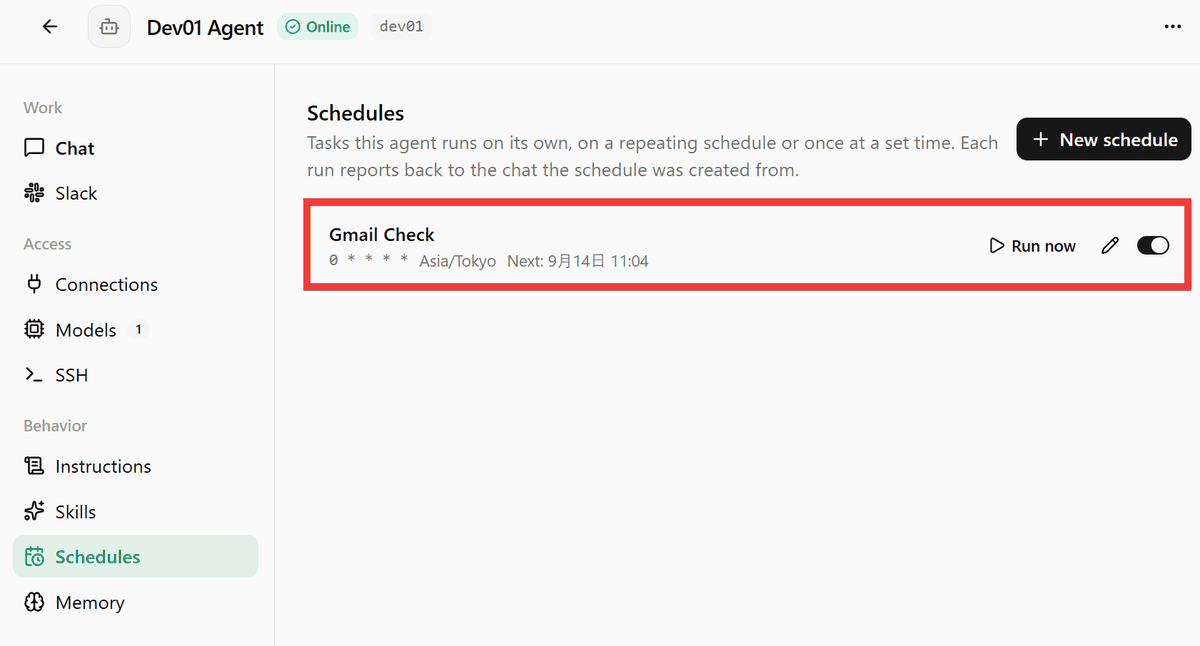
◆Perform the instructed tasks regularly.
The scheduling function allows you to activate agents at specific times to perform scheduled tasks.
◆Other features
-
- Set a common access policy for the entire team.
- Set up human approval for important operations such as sending emails and deleting data.
- Obtain authentication information from Bitwarden or 1Password when needed.
- SSH connection to the AI agent's Sandbox
Runner operates on outbound communication only and can be used on PCs and VPCs under NAT without opening inbound ports.
- Integrate with the company's Identity Provider to automatically prepare an AI agent based on the employee's ID.
Features such as these are available.
◆OneCLI Review
On the social news site Hacker News , there has been much discussion about OneCLI. While some praise the mechanism for controlling AI agents' access to external services on the network side, stating that 'blocking at the network level is a good idea,' others point out that 'the choice of sandbox is more important than many AI agent platforms acknowledge.' The main point of contention is how to isolate the AI agent's execution environment, including methods such as Docker-in-Docker, Firecracker, and namespace isolation.
◆How to set up a OneCLI server
This time, we'll set up Docker Desktop and Node.js on Windows and then build it using the Git Bash prompt. After cloning the repository and moving to the folder, execute the setup command.
 git clone https://github.com/onecli/onecli.git
 cd onecli
 pnpm install
 pnpm run setup
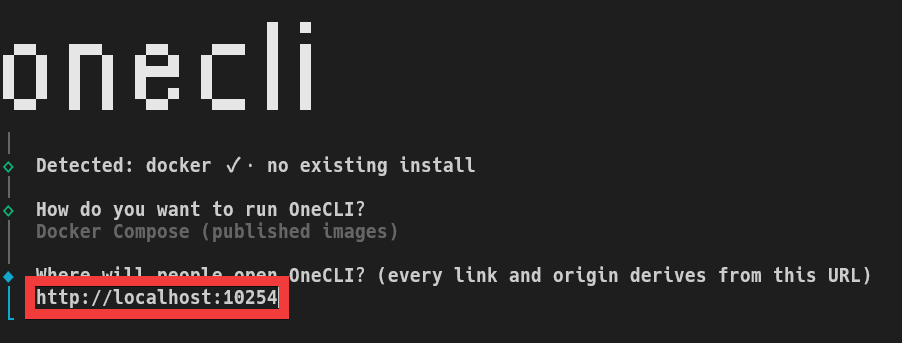
The setup will begin, so when asked 'How do you want to run OneCLI?', select 'Docker Compose (published images)'.
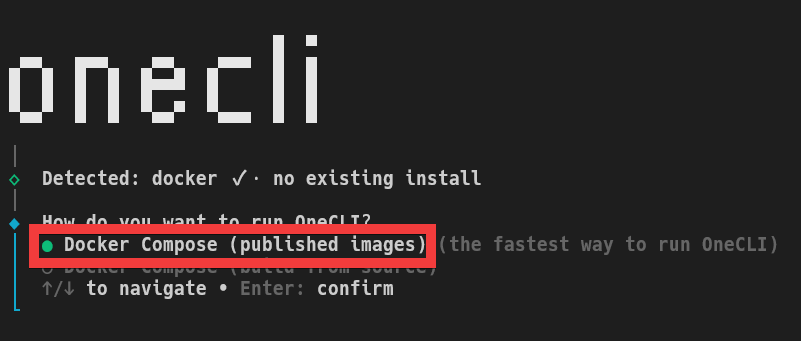
Press Enter after seeing 'Where will people open OneCLI?'.
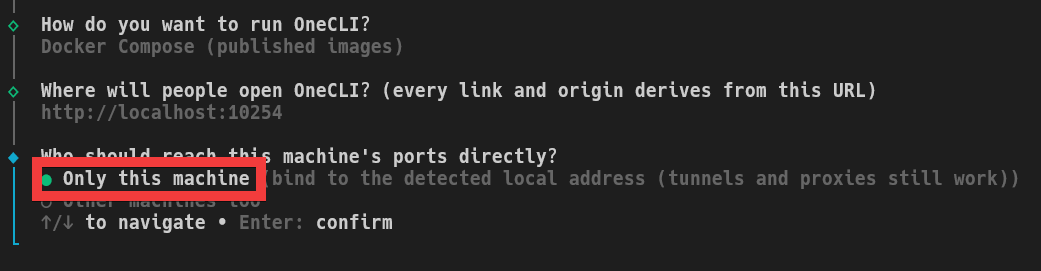
For 'Who should reach this machine's ports directly?', leave it as 'Only this machine' and press Enter.
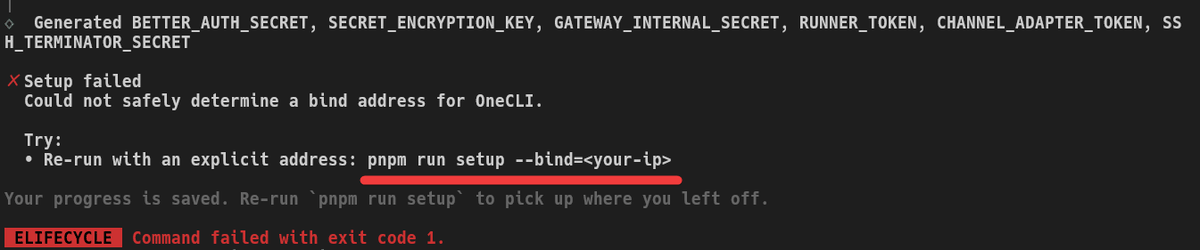
An error will occur here, but it can be resolved by running 'pnpm run setup --bind=<your-ip>'.
Running 'pnpm run setup --bind=127.0.0.1' will start the server as the setup progresses.
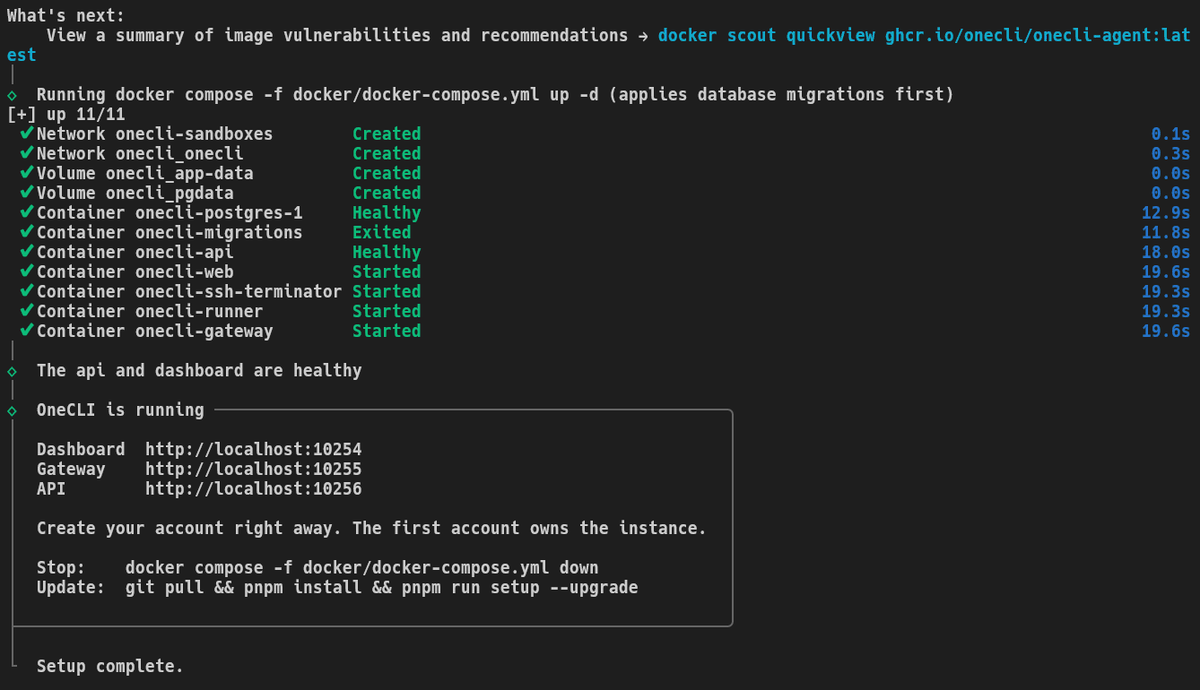
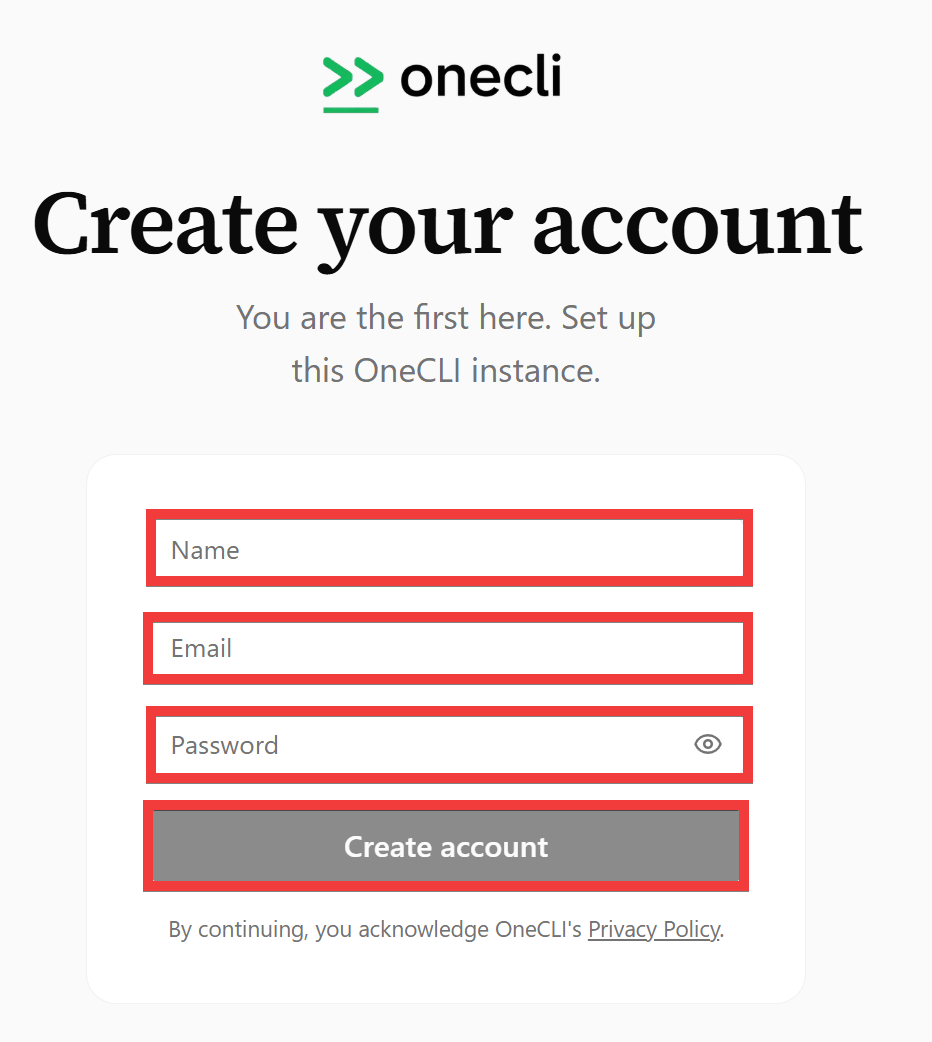
When you access 'http://localhost:10254' in your browser, an account creation form will appear. Enter your name in 'Name', your email address in 'Email', and your password in 'Password', then click 'Create account'.
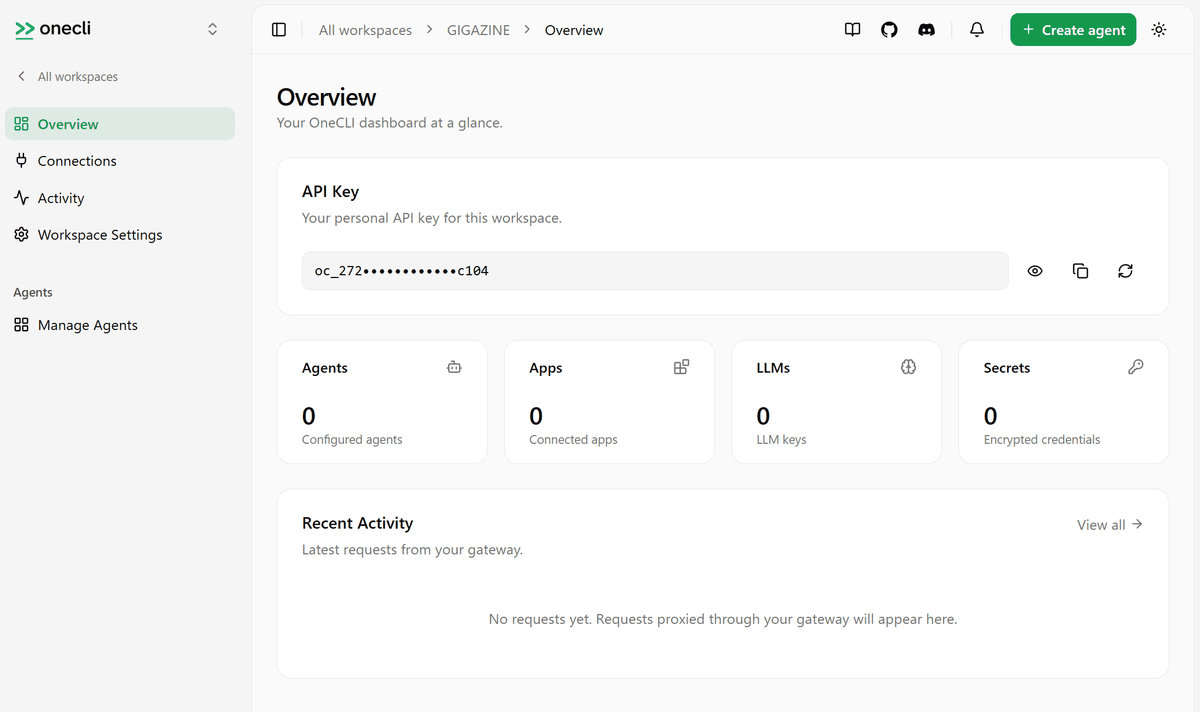
Once your account is created and the management screen is displayed, the setup is complete.
The standard portion of OneCLI is released under the Apache License 2.0 , allowing for self-hosted and production use without a commercial license. On the other hand, the Enterprise features are covered by the OneCLI Enterprise License ; development, testing, evaluation, and non-production use within a company are free, but an Enterprise contract is required for use in a production environment.
Related Posts: