I tried setting up 'Service Authentication' for Cloudflare Access, which is free to use, and accessing my local AI at home from an app while I was out.
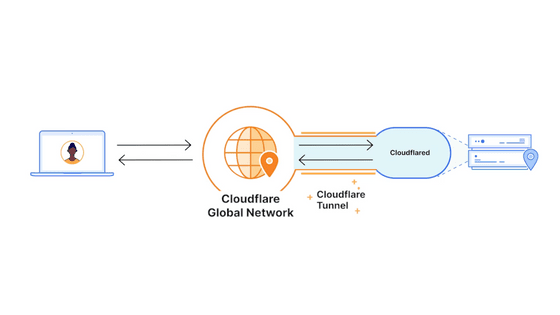
Cloudflare Access is a zero-trust access control service that allows only specific users, devices, or services to access an application. It can be configured simply by placing Cloudflare Access in front of a service exposed to the internet; the service itself doesn't need a login function. This time, we'll configure 'service authentication' to allow communication from applications with a service token while maintaining browser access.
Access | Zero Trust Network Access (ZTNA) Solution | Cloudflare
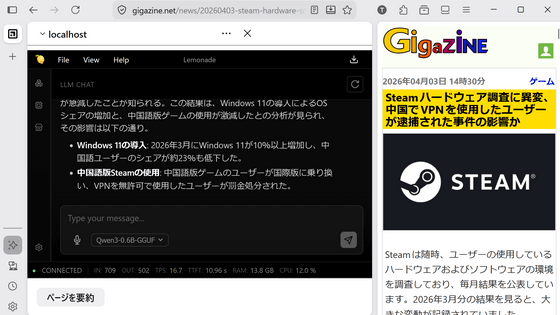
Previously, I used Cloudflare Tunnel to make my AI server 'Lemonade,' which was running on my local PC, accessible from the internet. I also set up email authentication using Cloudflare Access so that only authorized users could access it.
I tried setting up Cloudflare Access, which is free to use, to securely access my local AI from outside - GIGAZINE
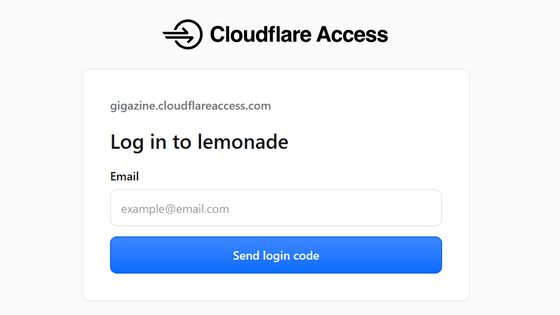
When accessing from a browser, authentication can be done by interacting with the Cloudflare Access login screen. On the other hand, when calling the Lemonade API from an application created with Node.js or similar, an authentication method that does not require human login is necessary.
This is where Cloudflare Access's 'Service Authentication' comes in. Service authentication issues special authentication information called a 'service token' to programs such as apps and servers. By attaching the client ID and secret of the service token to the HTTP request sent from the app, it becomes possible to access services protected by Cloudflare Access.
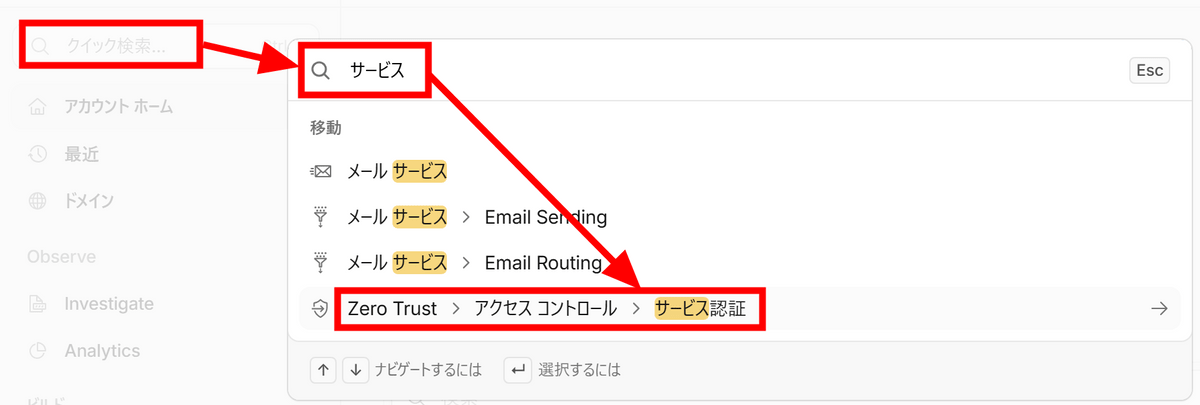
Let's get started with the actual setup. First, log in to the Cloudflare dashboard , search for 'Services' in the quick search in the upper left corner, and click 'Service Authentication'.
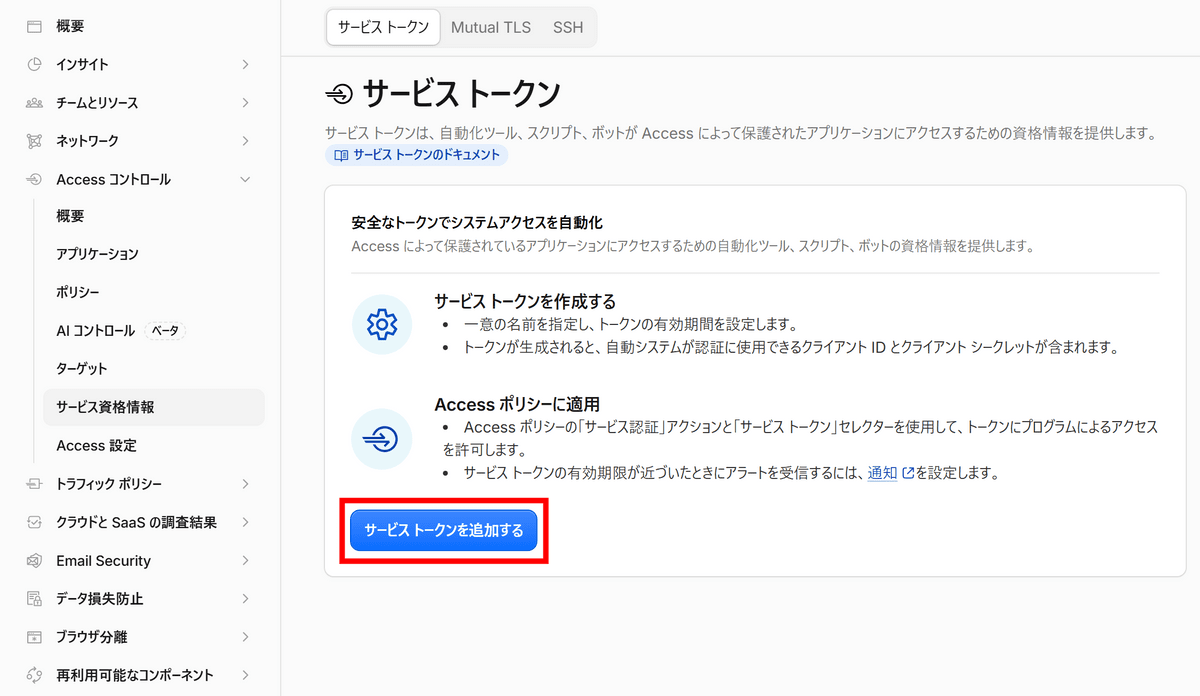
Click 'Add service token'.
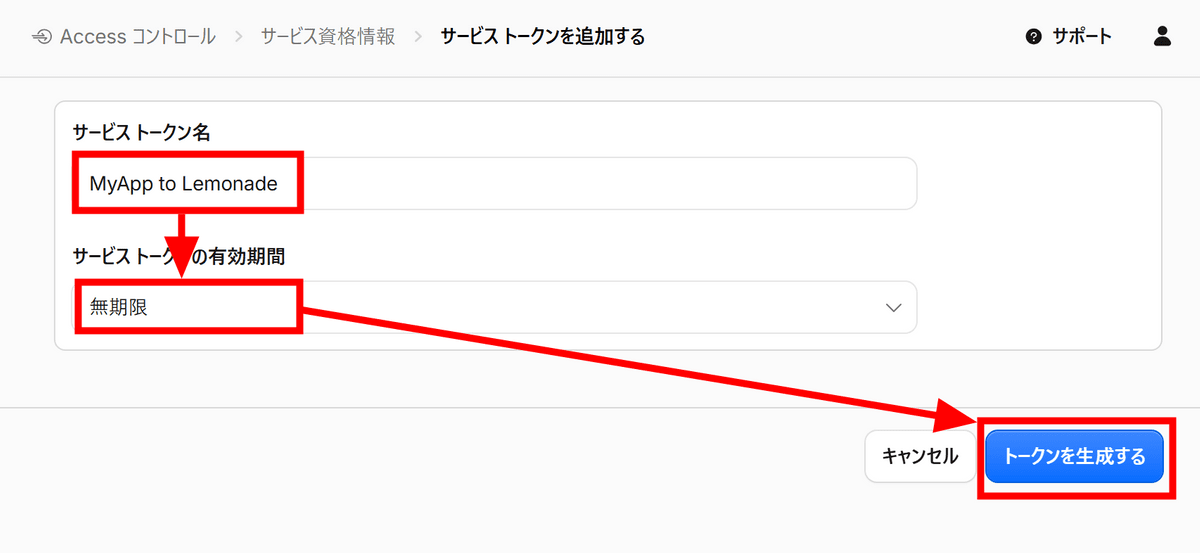
Enter a service token name, set the validity period to 'Unlimited,' and click 'Generate Token.'
A client ID and secret will be created. They are provided as a set with the header name, so copy both and save them. However, I was unable to click 'Save' in the bottom right corner of this screen.
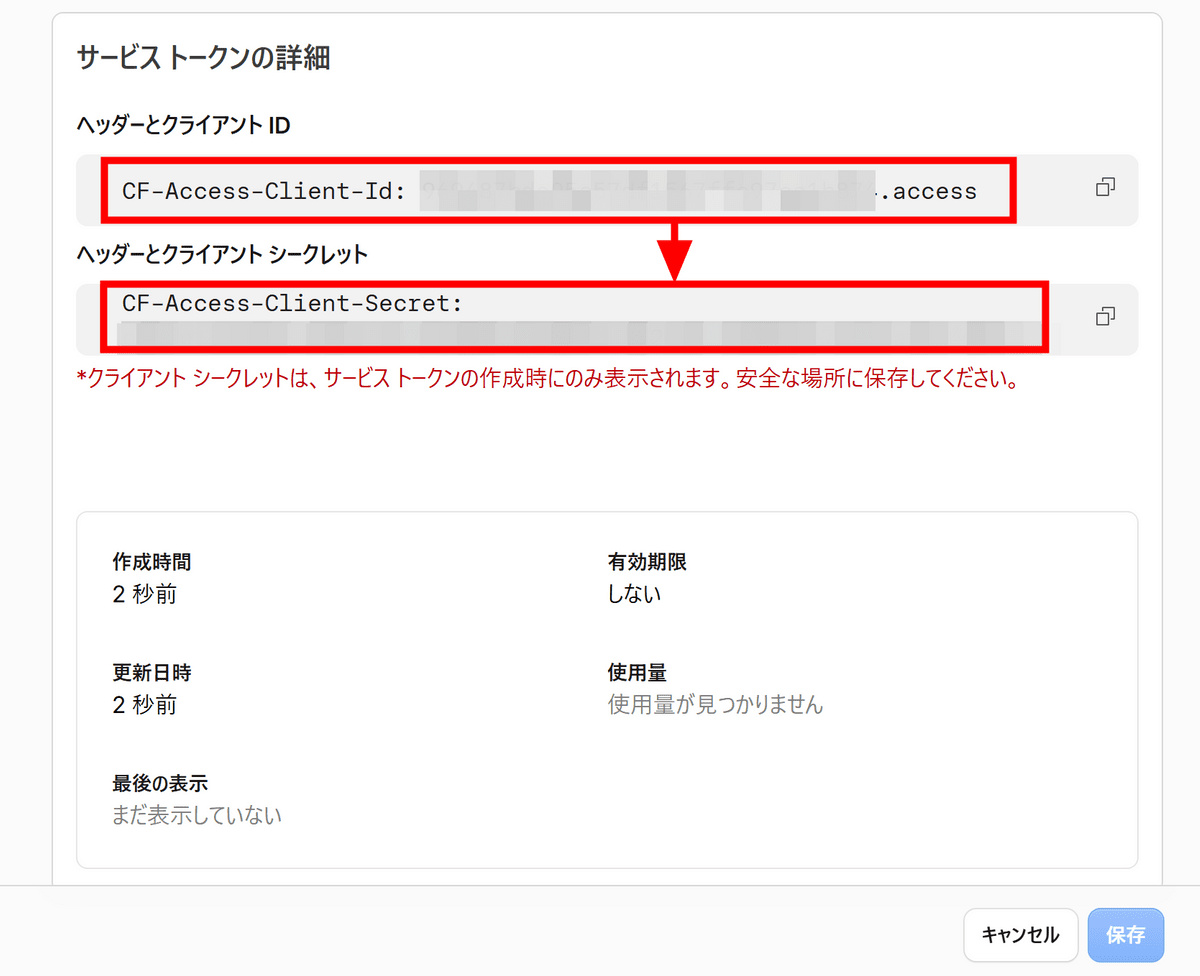
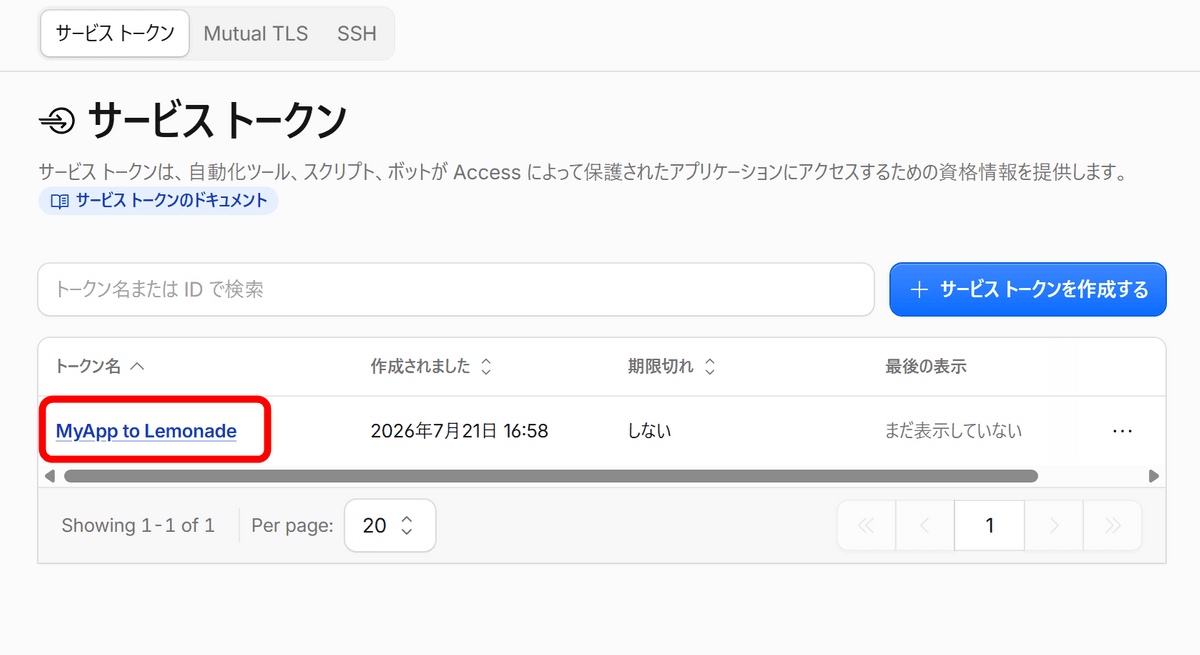
I couldn't click 'Save,' but when I reloaded the service token page, the token had been generated, so I'll proceed.
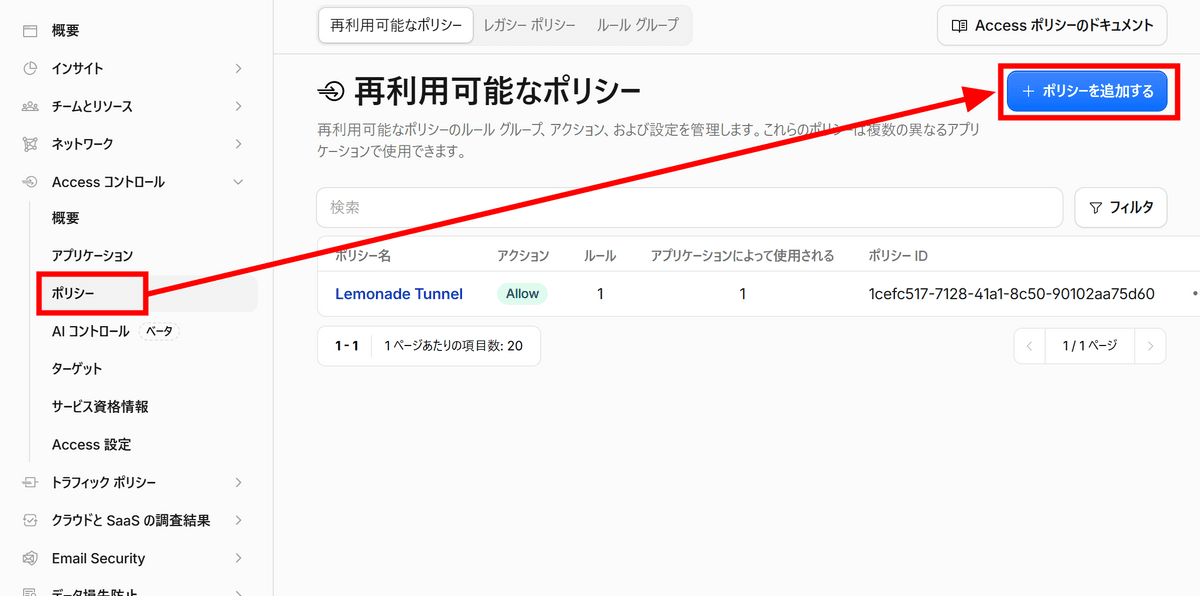
Next, open 'Policies' from the menu on the left and click 'Add policy'.
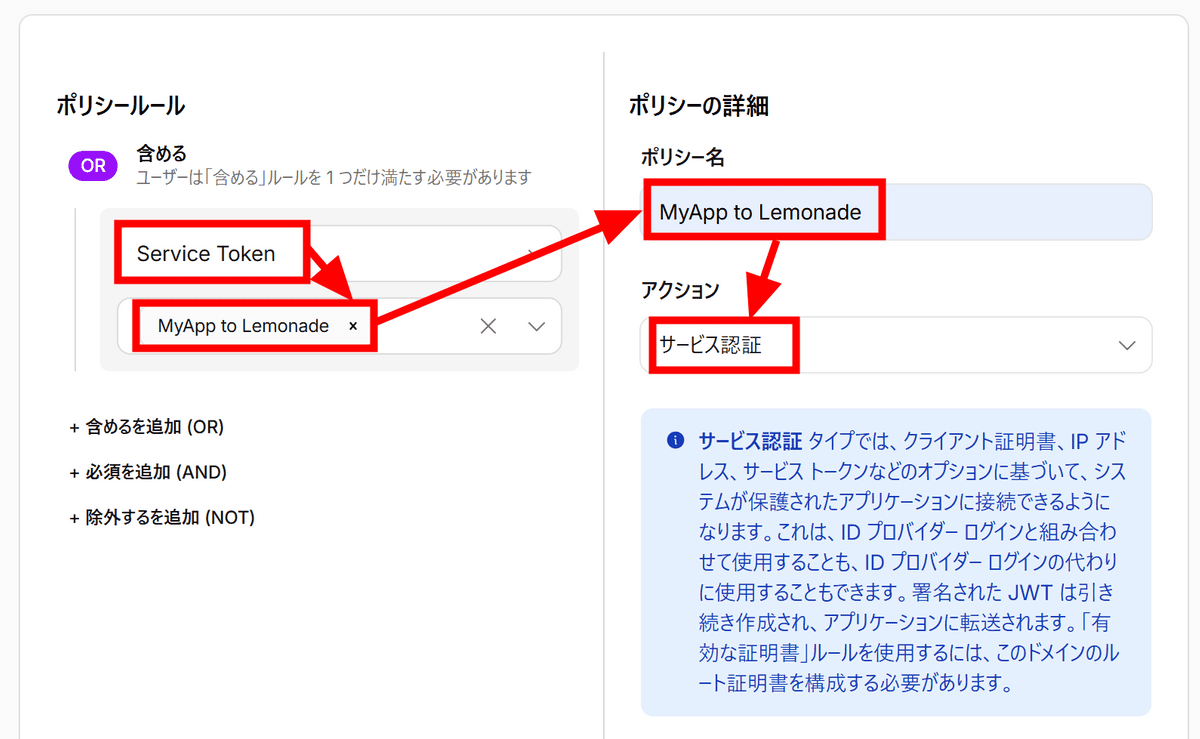
In the policy rules, select 'Service Token' and then select the service token 'MyApp to Lemonade' that you just created. Enter a policy name and change the action to 'Service Authentication'.
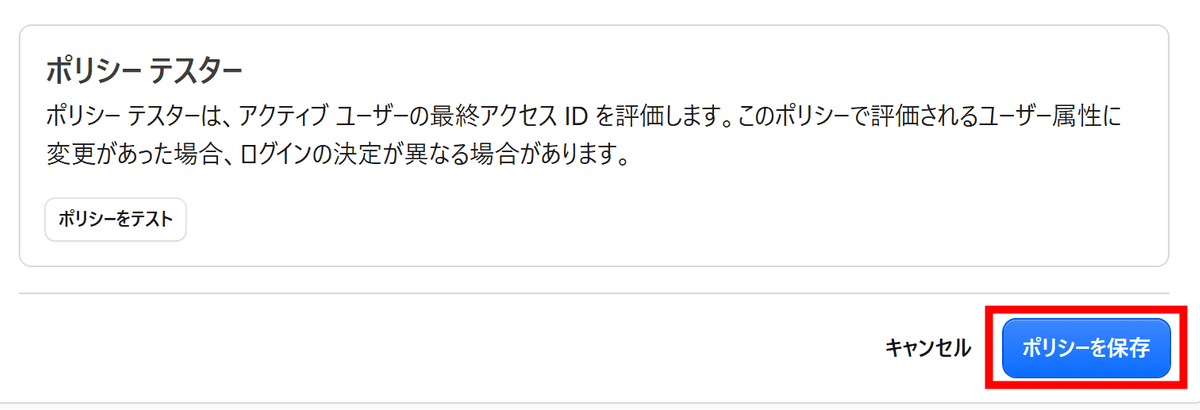
Scroll to the bottom and click 'Save Policy'.
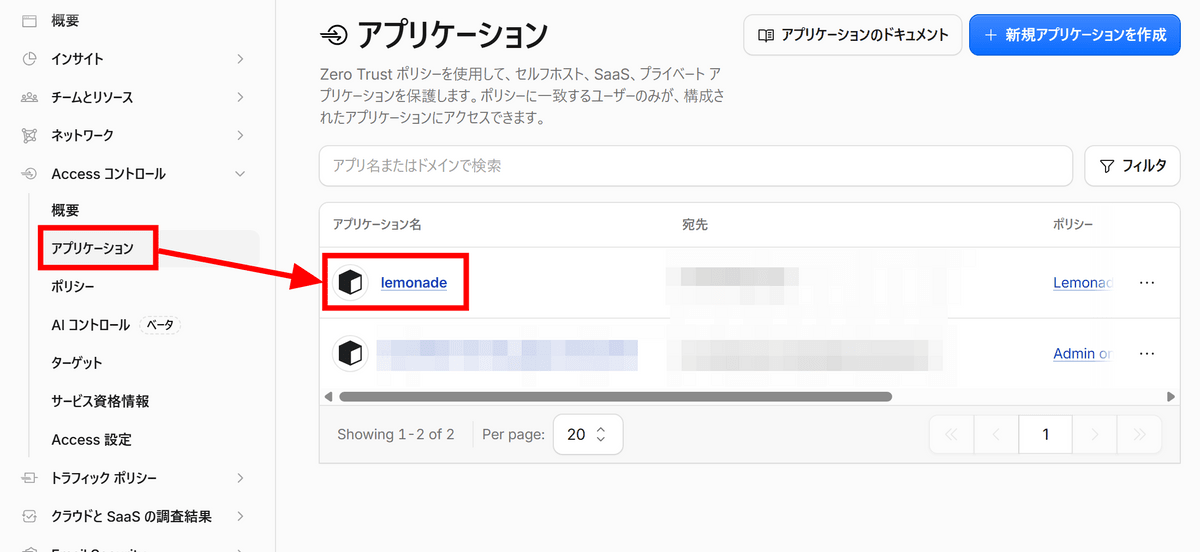
Navigate to 'Applications' from the left-hand menu and click on 'lemonade,' which you created previously.
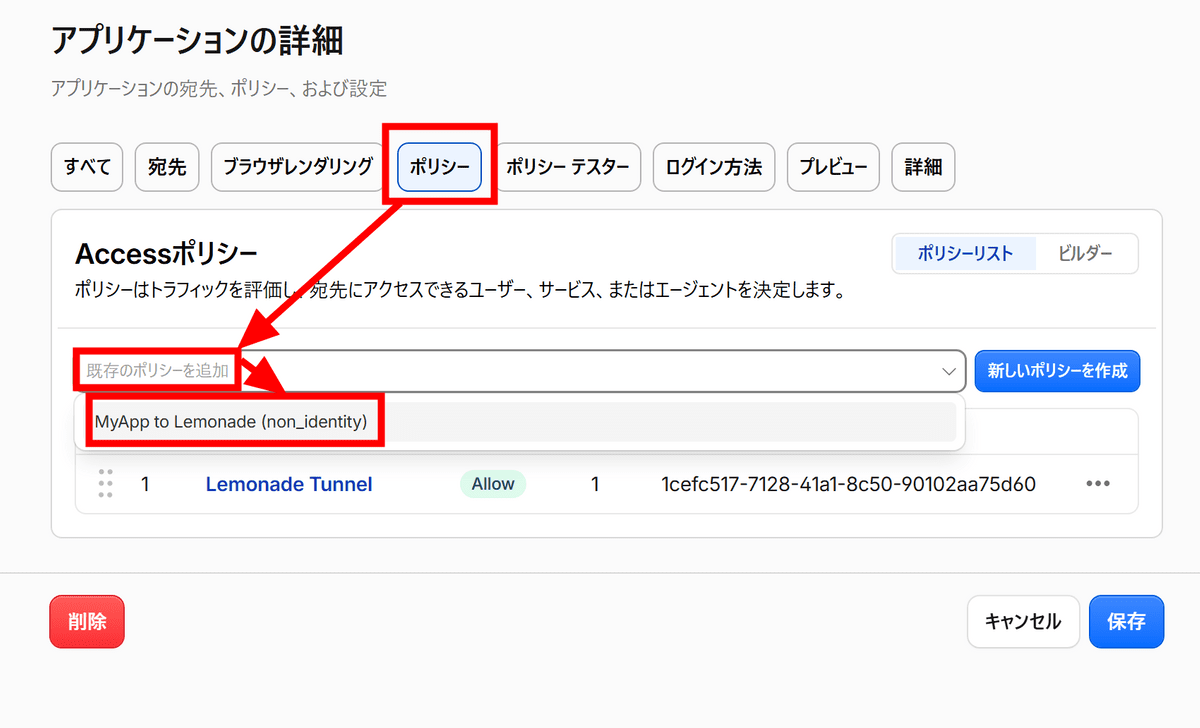
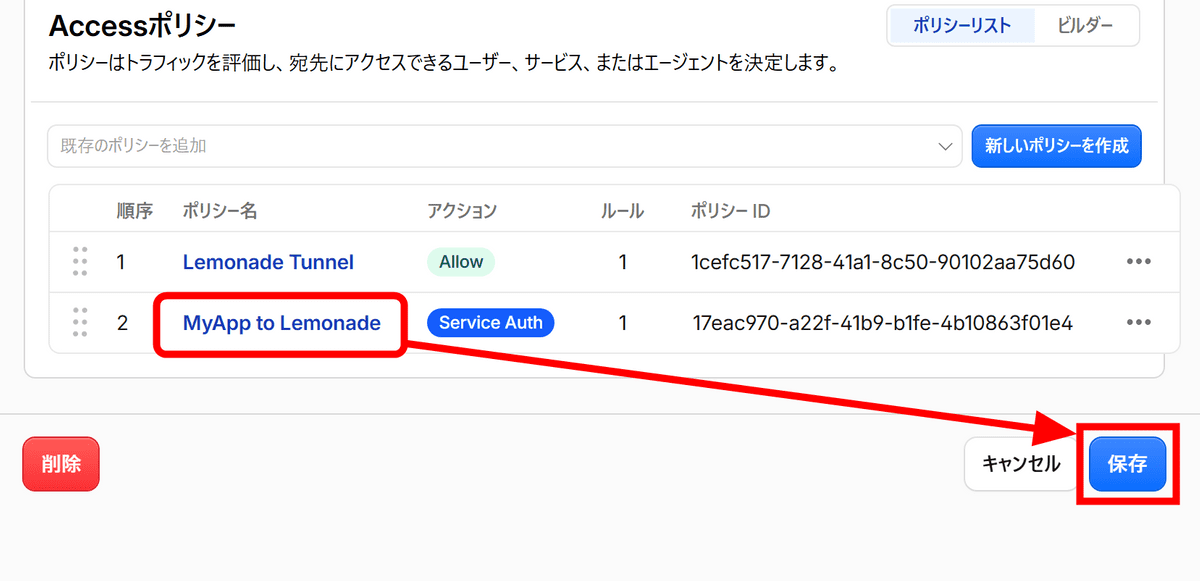
Go to the 'Policies' tab and select the 'MyApp to Lemonade' policy you just created from 'Add an existing policy'.
It has been successfully added. Click 'Save'.
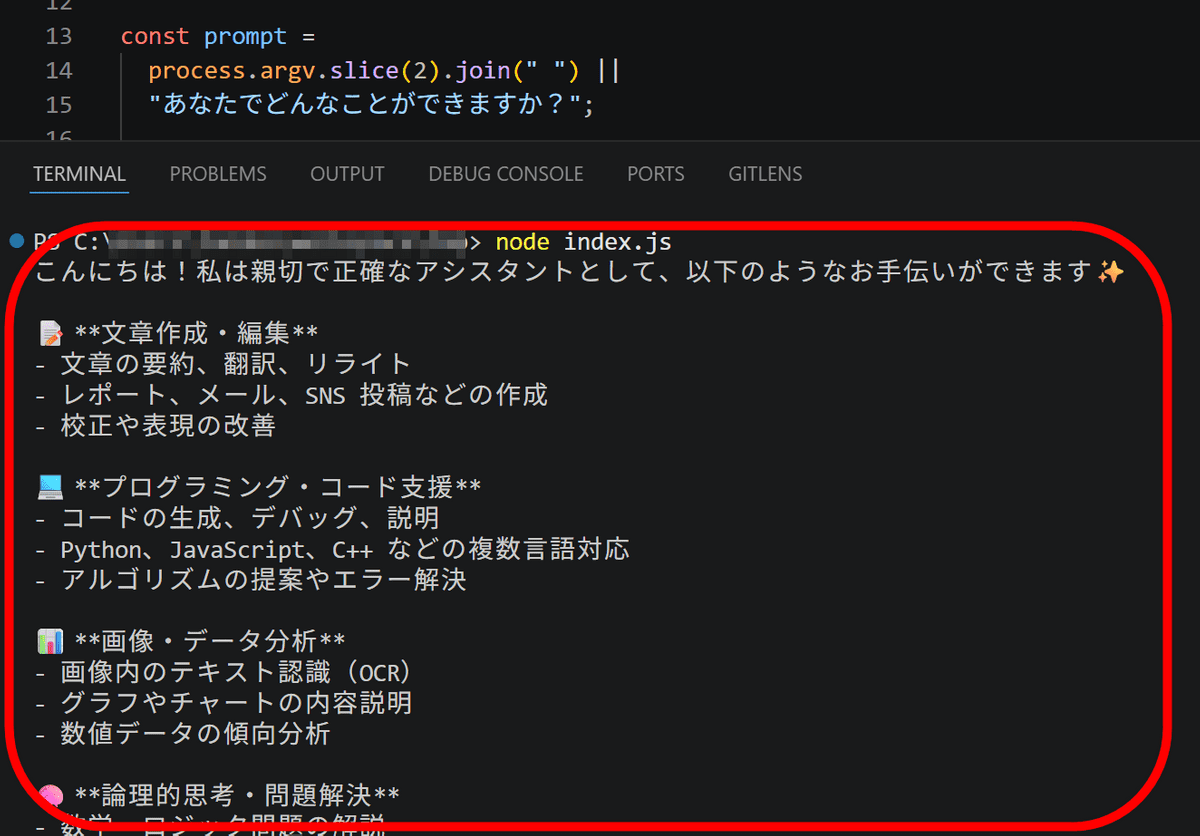
Let's try accessing it from the app. Set the client ID and secret that you saved when you created the service token into the 'CF-Access-Client-Id' and 'CF-Access-Client-Secret' headers, respectively. For this temporary use to check connectivity, we've written them directly into the source code.

I was able to access Lemonade from the app and receive a response from the AI. Since it allows the use of AI without human intervention, it seems like it could be used for a variety of purposes.
Related Posts:

in AI, Web Service, Review, Posted by log1d_ts