I tried playing 'Mvidia,' a game where you assemble a GPU step by step, starting with a single transistor.
Mvidia has advertised a game that allows you to learn how GPU circuits are structured while having fun. I actually played it to see what kind of game it is.
Mvidia
A letter from the CEO is displayed on the start screen. It says, 'Welcome to Mvidia! Your resume says 'Software Engineer,' but honestly, we need someone with hardware skills. But don't worry, you'll get the hang of it quickly. Let's start with the basics. I've ordered some transistors.' Click 'START.'
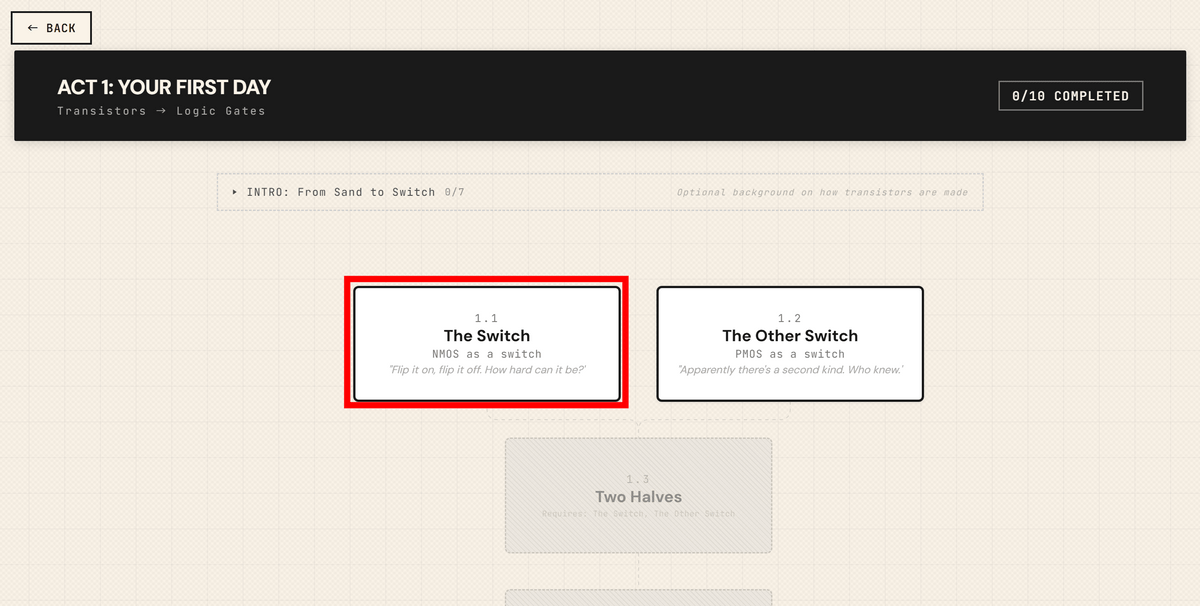
The stage has been displayed. First, I'll try 'The Switch' from '1.1'.
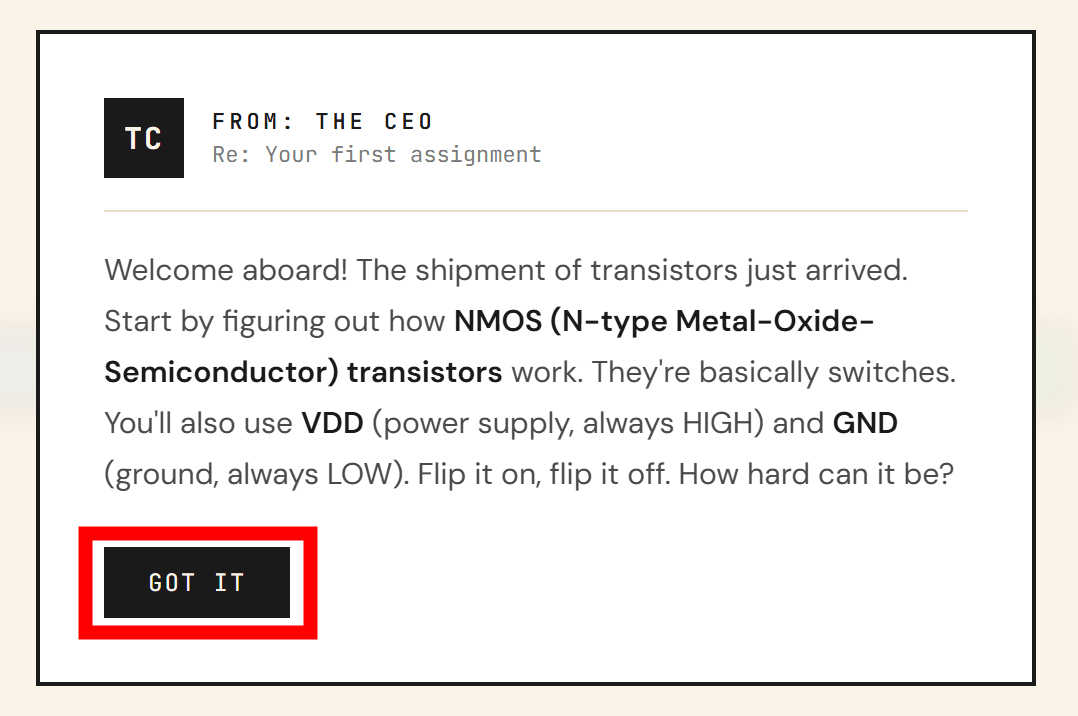
Upon opening the stage, another letter from the CEO appeared. This time, the stage would teach us about the workings of NMOS transistors. Click 'GOT IT'.
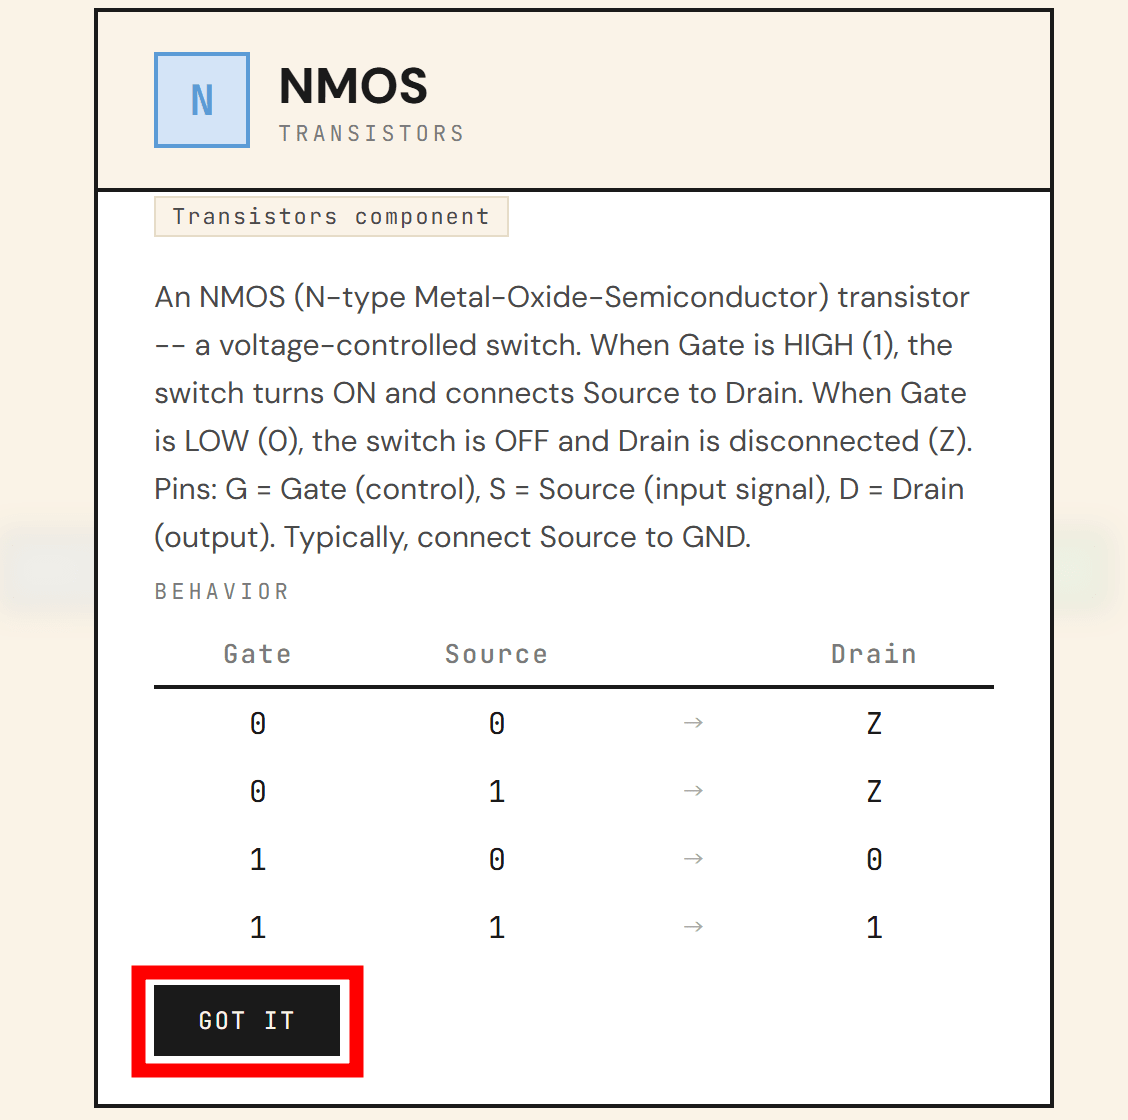
The truth table for the NMOS transistor will be displayed. An NMOS transistor has three nodes: 'Gate,' 'Source,' and 'Drain.' When a signal is present at the Gate, the signal from the Source flows to the Drain, and when there is no signal at the Gate, it enters a 'disconnected (Z)' state. Click 'GOT IT.'
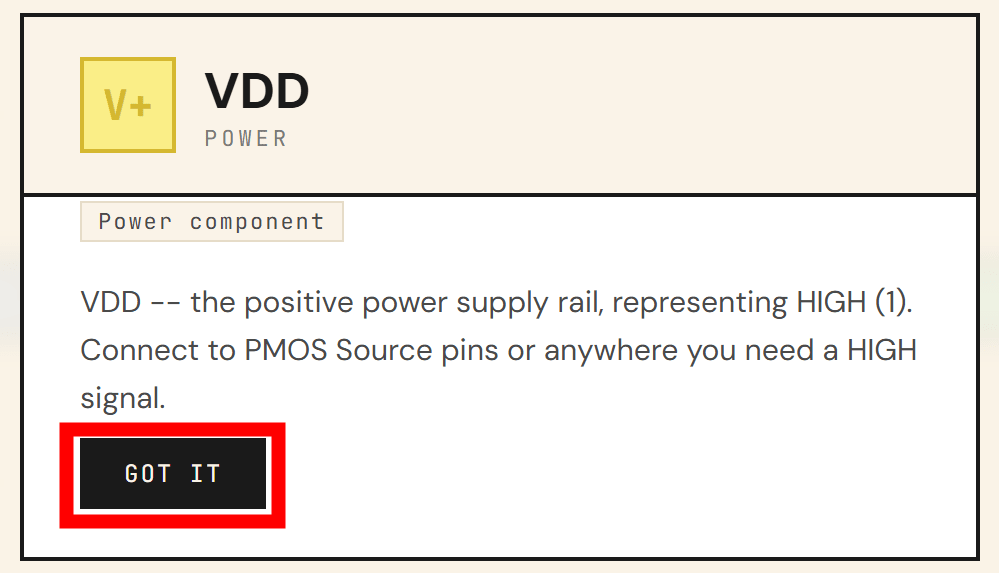
The explanation for 'VDD' was displayed. It said that VDD always sends a signal of '1'. Click 'GOT IT'.
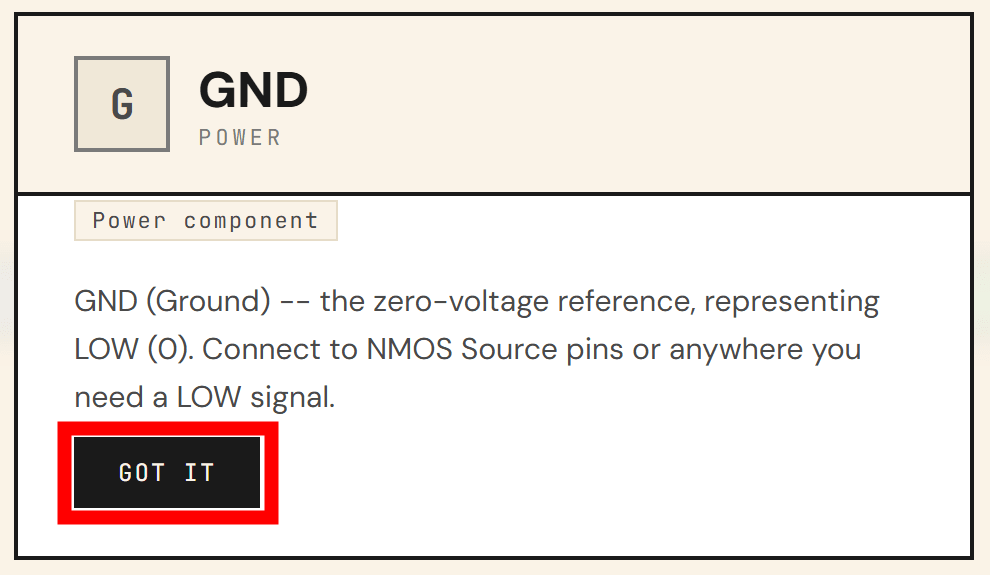
Conversely, you can think of 'GND' as always being '0'. Click 'GOT IT'.
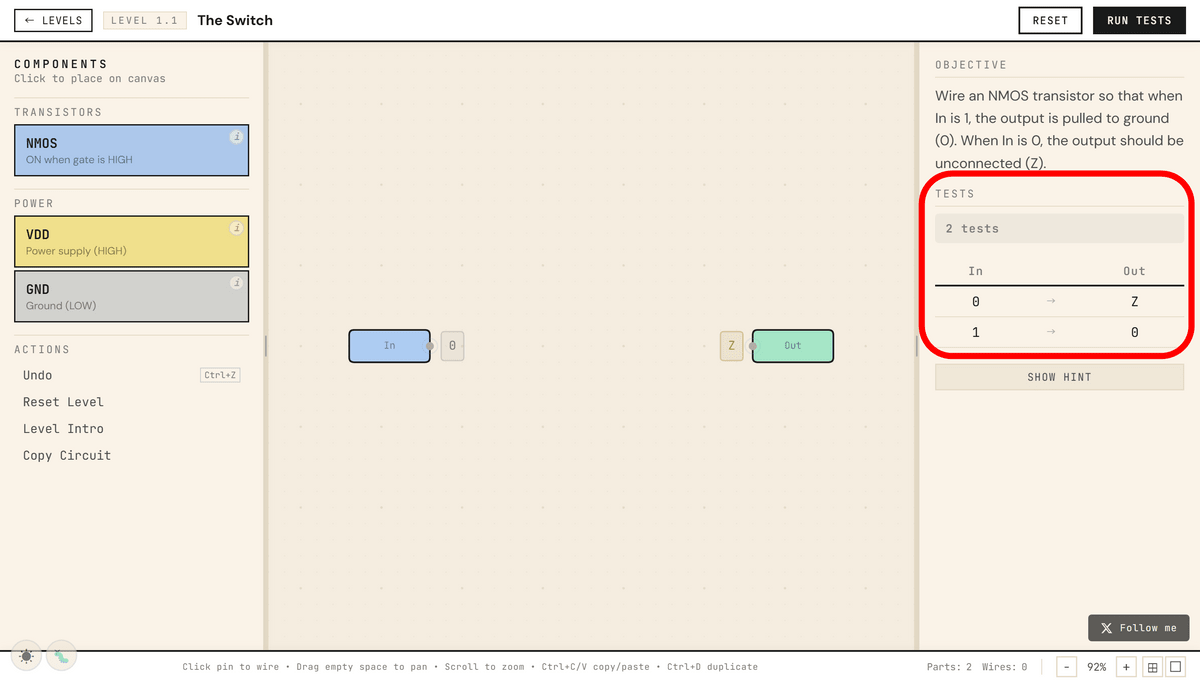
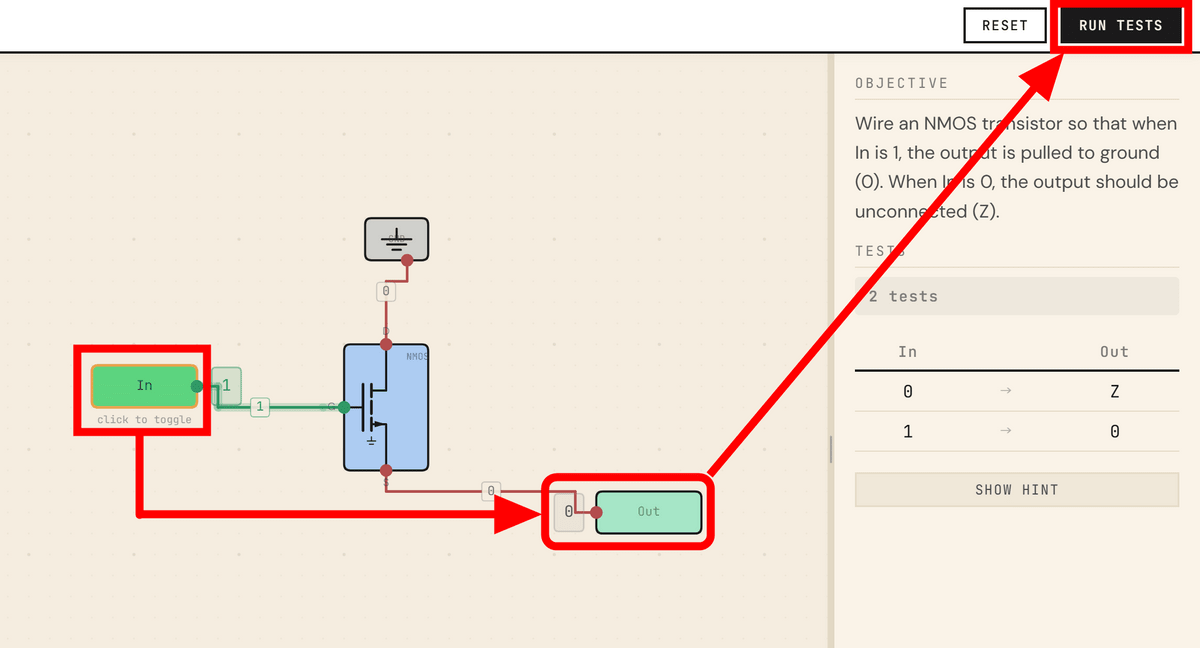
We've finally reached the game screen. There's an item called 'TESTS' on the far right, and it seems we should design the circuit according to the items in TESTS. In this case, it says that when the input is '0', it should be in the disconnected state 'Z', and when the input is '1', it should be in the '0' state.
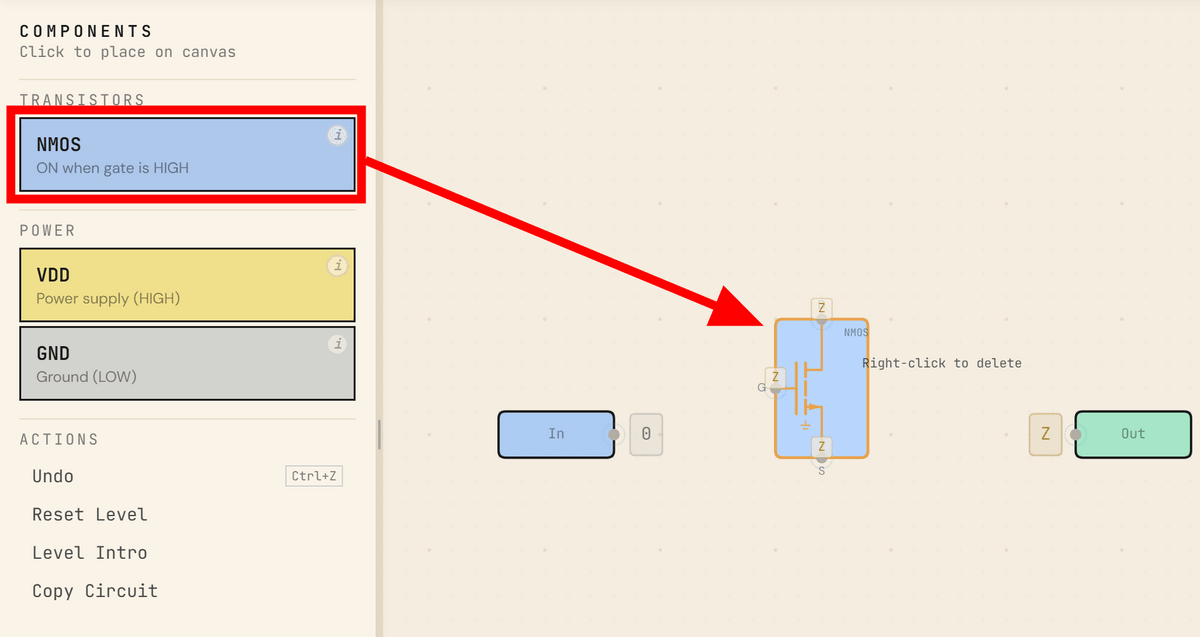
Let's start by placing the components. Drag and drop 'NMOS' into the center.
I placed the other components and connected the circuit. Clicking the input node 'In' switches the input signal, so I confirmed that the correct signal was flowing to the output node 'Out' and then clicked 'RUN TESTS'.
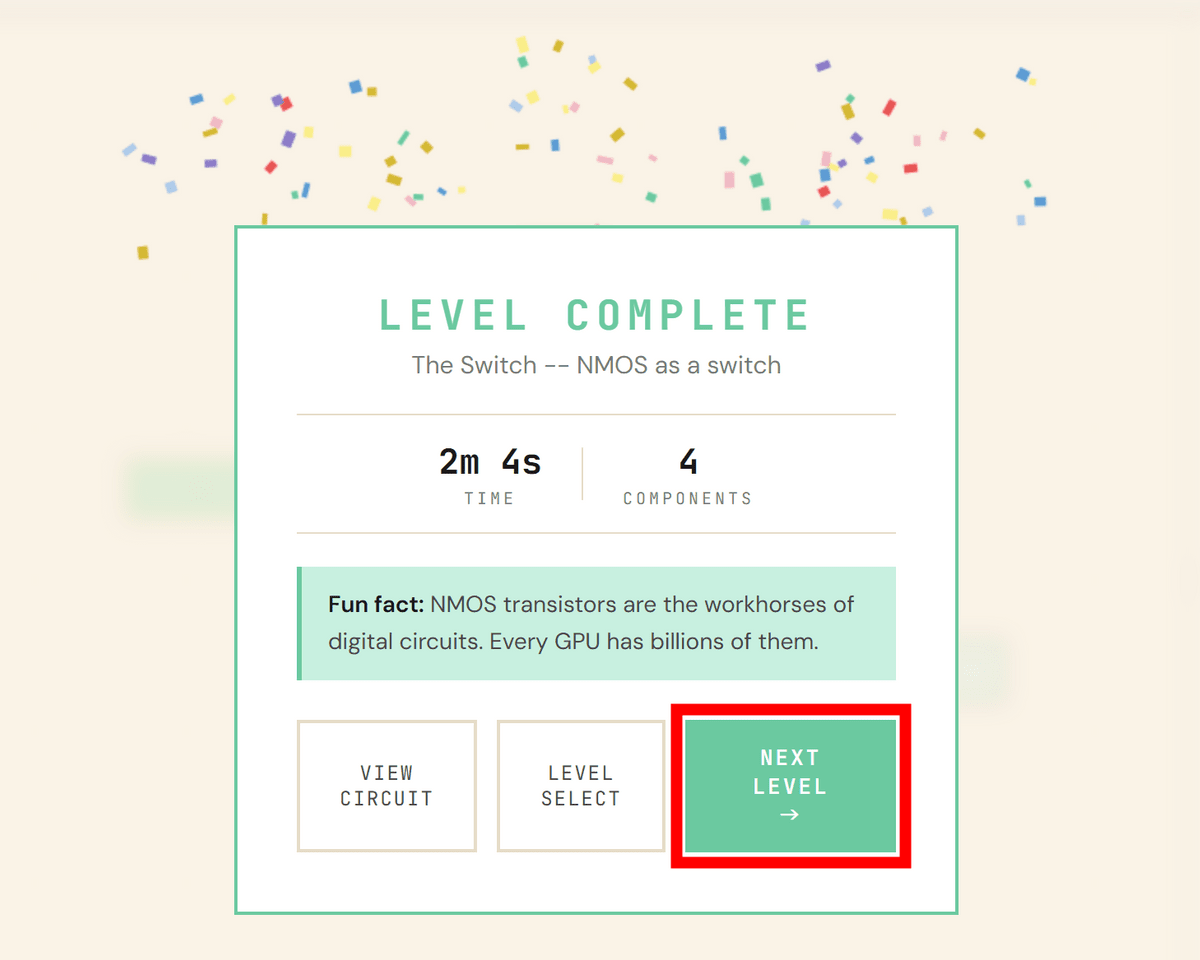
You have successfully cleared the stage. Click 'NEXT LEVEL' to proceed to the next stage.
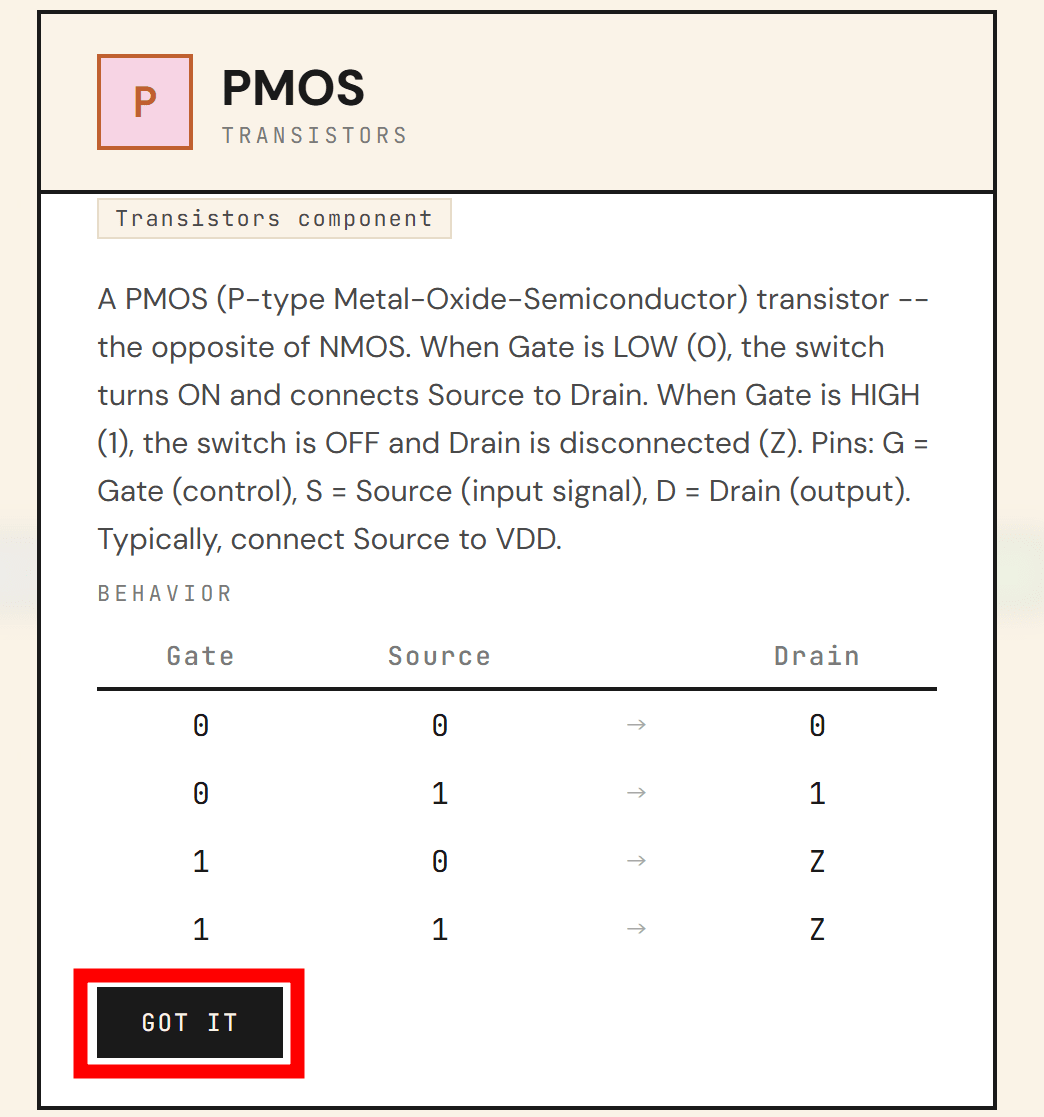
Next, we'll be learning about 'PMOS' transistors. The CEO says they're the opposite of NMOS. Click 'GOT IT'.

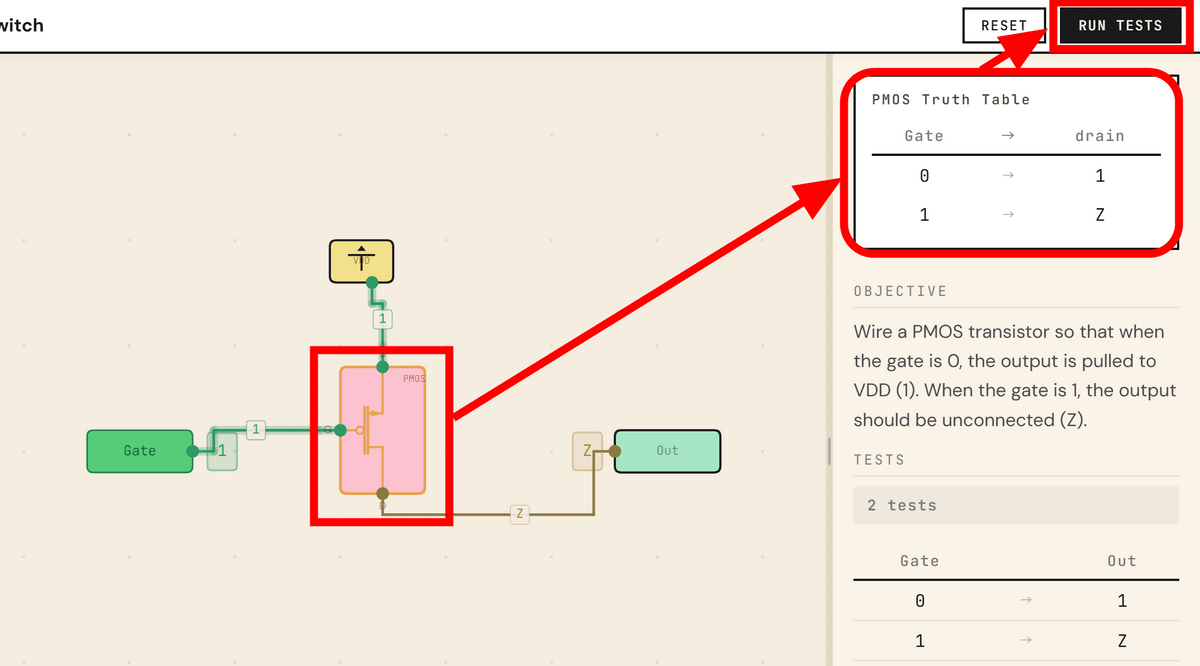
The truth table for the PMOS transistor is displayed. This time, it says that the signal passes through when the gate is 0, and is disconnected when the gate is 1. It certainly seems to be the opposite of an NMOS transistor. Click 'GOT IT'.
The output content was also reversed.
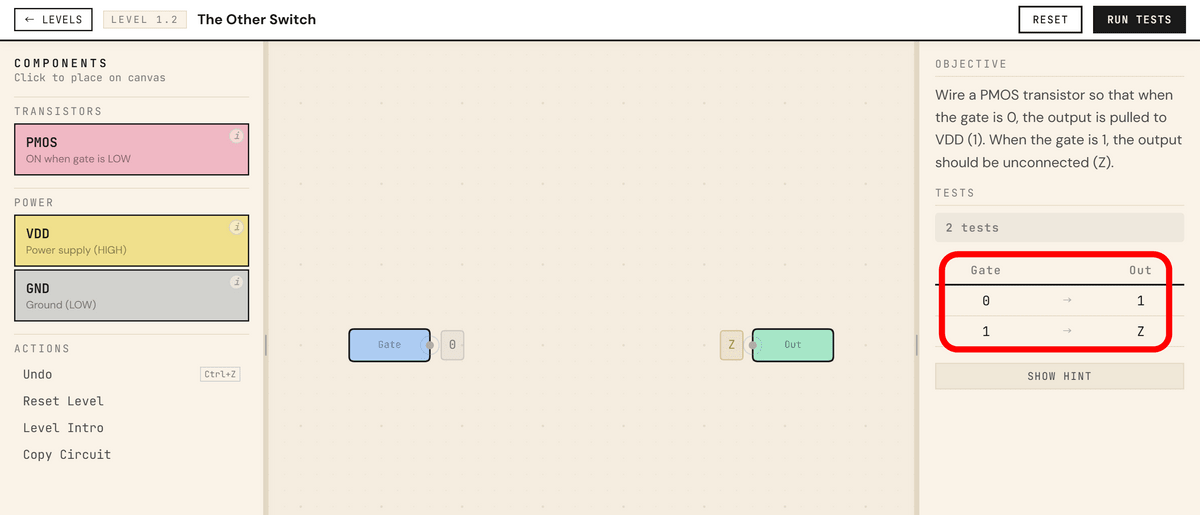
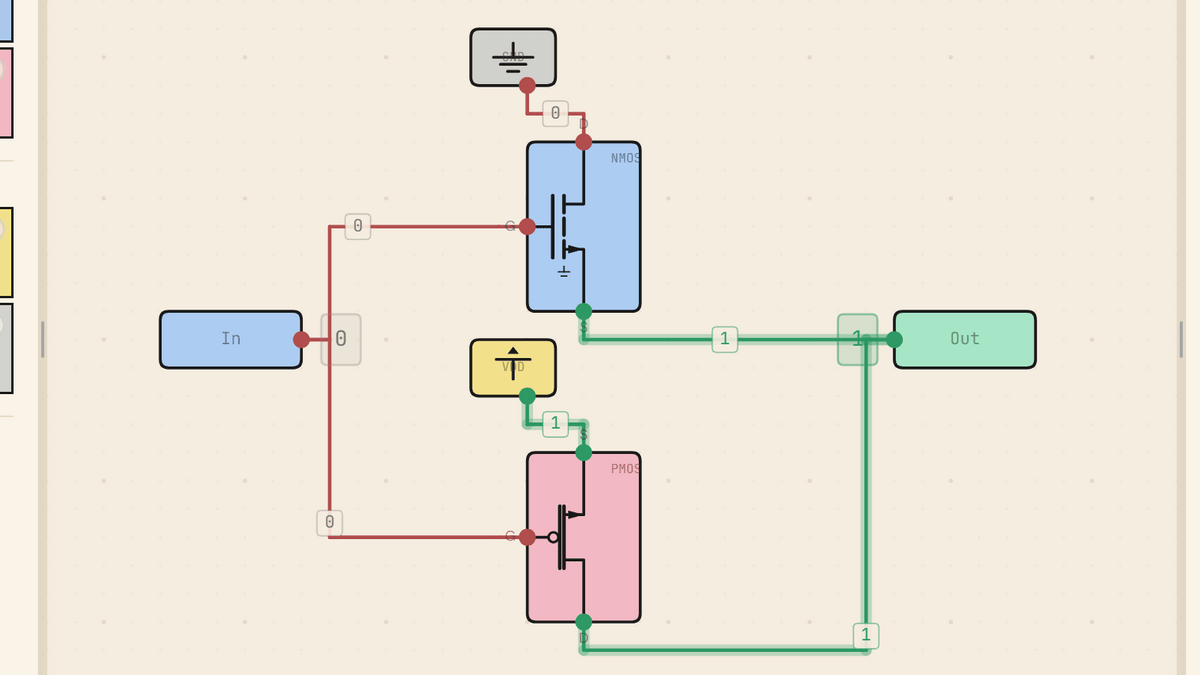
After placing the components and connecting the circuit, clicking on the PMOS transistor displayed the current truth table in the upper right corner. This feature seems very useful when building more complex circuits in the future. The truth table looked fine, so I clicked 'RUN TESTS'.
I successfully cleared the stage.

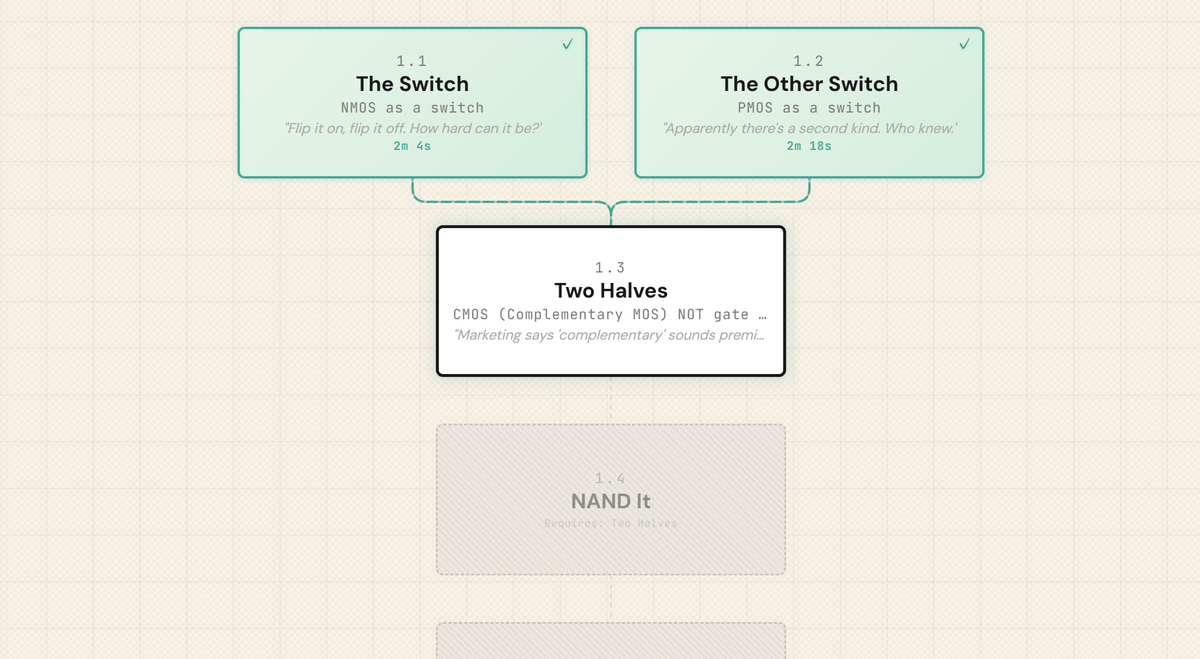
By clearing two stages, the next stage was unlocked. As you progress through the stages, you naturally gain an understanding of the circuits used inside the GPU.
Mvidia has announced that the game will consist of five chapters. As of the time of writing, a total of 48 stages from Chapters 1 and 2 are playable.
Related Posts: