Summary of installation procedure for 'Alpaca.cpp' that allows you to install the chat AI 'Alpaca' locally and talk to the AI offline

In March 2023, Stanford University released '
GitHub - antimatter15/alpaca.cpp: Locally run an Instruction-Tuned Chat-Style LLM
https://github.com/antimatter15/alpaca.cpp
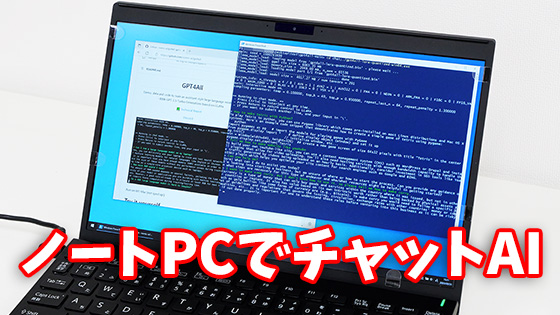
To install 'Alpaca.cpp' and build an environment on Windows where you can talk to a chat AI, you first need to install various software such as the C++ compiler, 'CMake,' and 'Git.' This time, we will install the Microsoft IDE 'Visual Studio 2022' to prepare the C++ compiler, and then install various software. After that, we will build a chat AI environment using 'Alpaca.cpp.'
·table of contents
◆1: Installing Visual Studio 2022
◆2: Installing CMake
◆3: Installing Git and cloning the repository
◆4: Build Alpaca.cpp
◆5: Download the Alpaca model data
◆6: Start the chat AI
◆1: Installing Visual Studio 2022
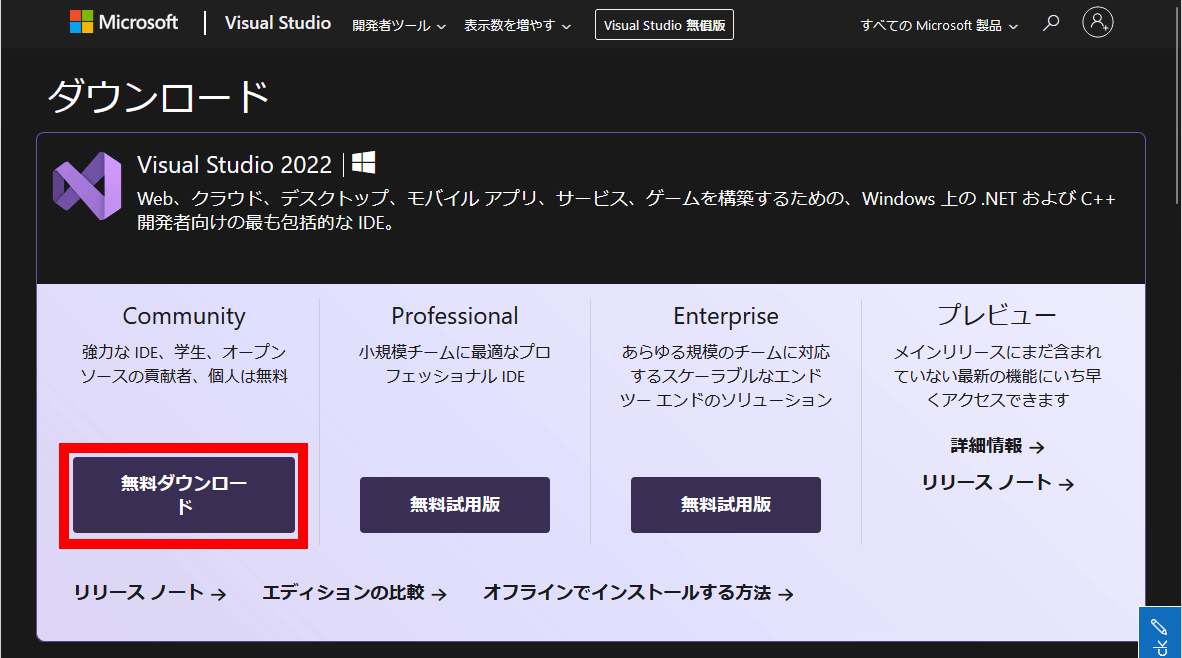
To install Visual Studio 2022, first click the link below to go to the download page.
Download Visual Studio Tools - Install Free for Windows, Mac, Linux
https://visualstudio.microsoft.com/ja/downloads/
Once you access the download page, click 'Free Download' under 'Community' to download the installer (file size: 3.53MB).
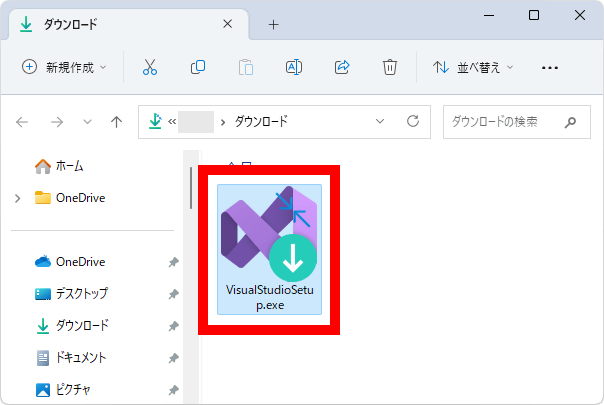
Once the download is complete, double-click the installer to run it.
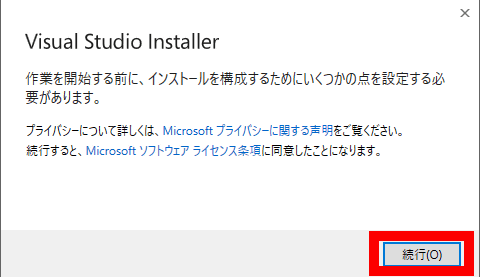
When the following screen appears, click 'Run'.
After a while, the following installation item selection screen will appear.

By default, three options are checked: 'ASP.NET and Web Development,' 'Azure Development,' and '.NET Desktop Development.' However, we don't need these options this time, so we'll uncheck them.
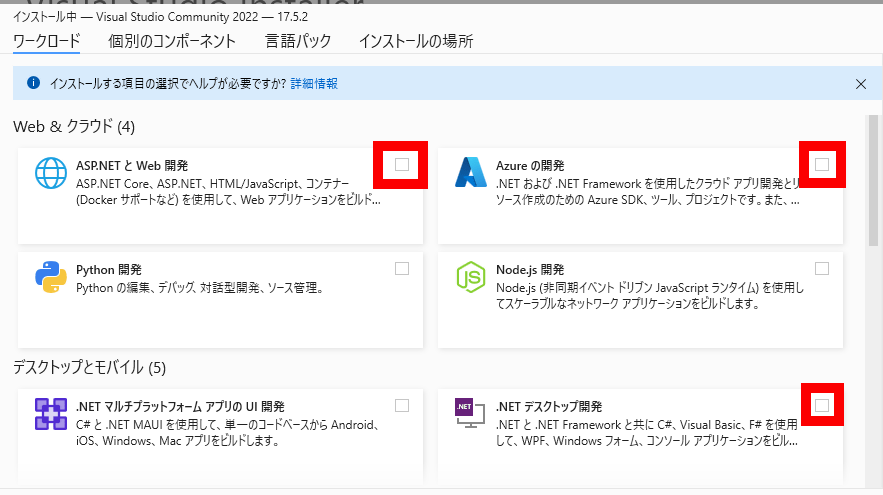
Next, check 'Desktop development with C++' and click 'Install.'

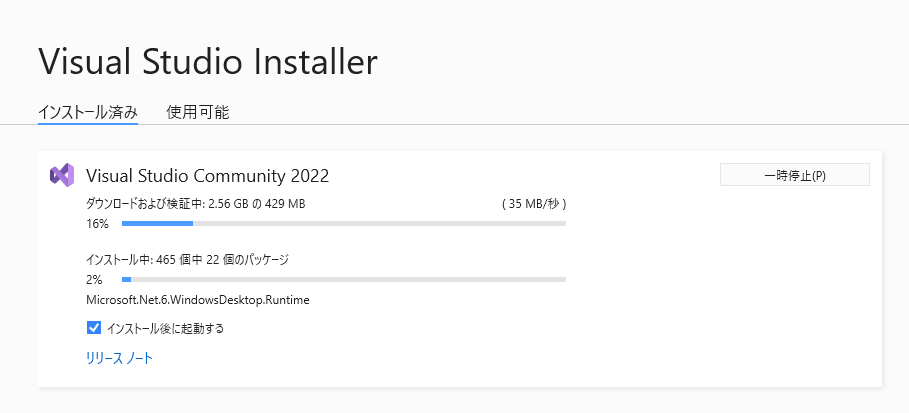
Wait a few minutes for the installation to complete.
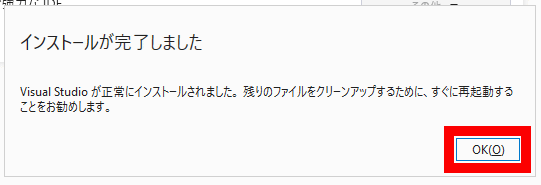
Once the installation is complete, you will be prompted to restart your PC. Click 'OK' to restart your PC.
◆2: Install CMake
Next, install the software 'CMake' required to build Alpaca.cpp. First, click the link below to access the download page.
Download | CMake
Once you're on the download page, scroll down.

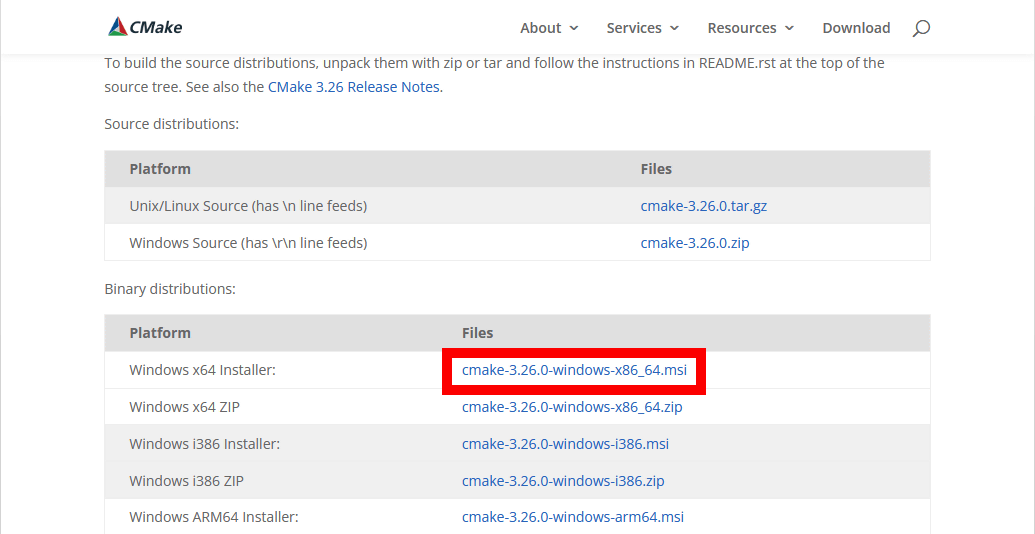
Find and click 'cmake-3.26.0-windows-x86_64.msi' to download the installer (file size: 29.6MB).
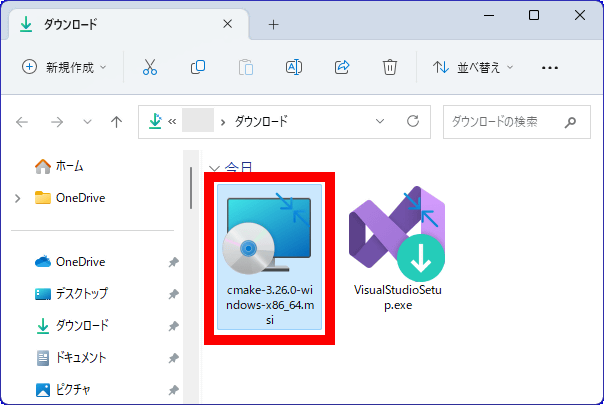
Once the download is complete, double-click the installer to launch it.
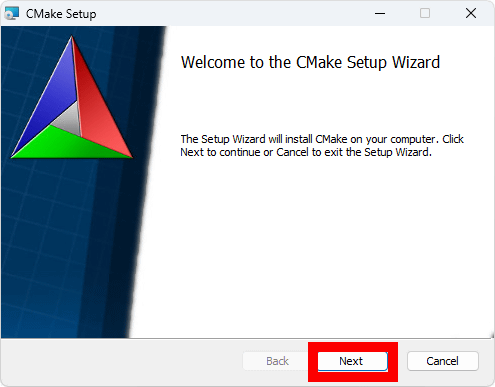
Once the installer starts, click 'Next'.
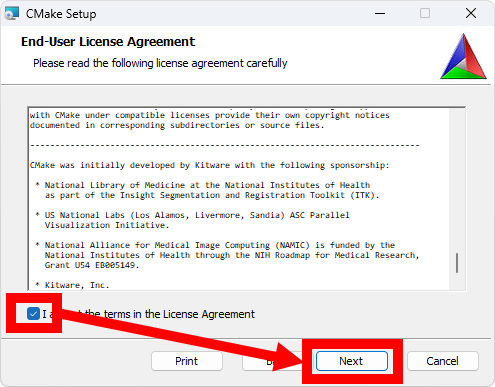
Read the license carefully, check the box to accept it, and click 'Next.'
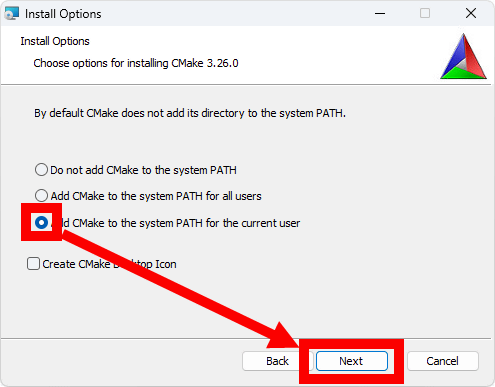
Check 'Add CMake to the system PATH for the current user' and click 'Next'.
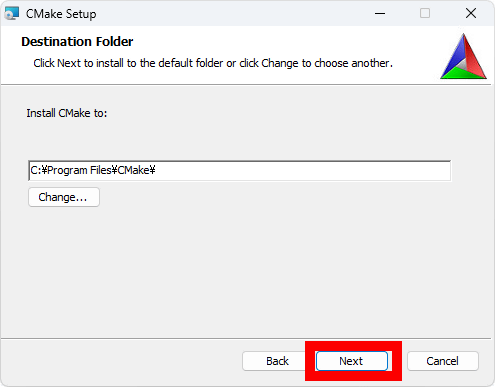
When the installation destination selection screen appears, click 'Next' without changing anything.
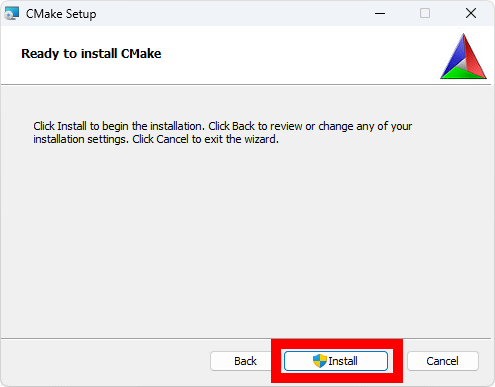
Click “install”.
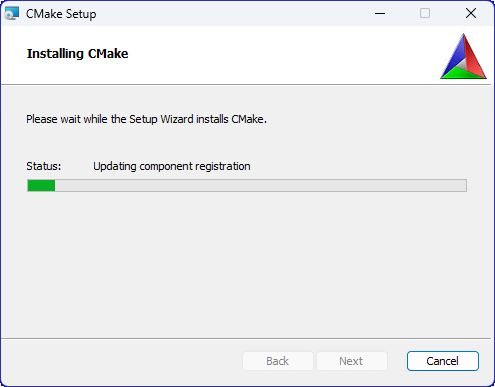
Installation takes just a few seconds.
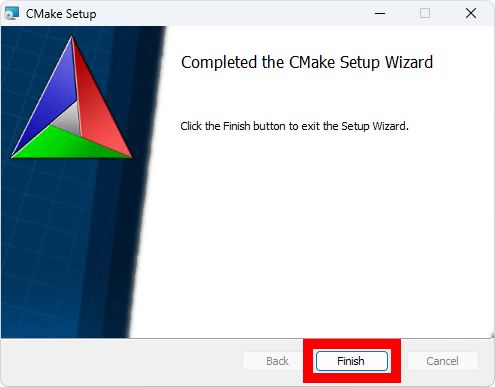
When the installation is complete, click 'Finish' to exit the installer.
◆3: Installing Git and cloning the repository
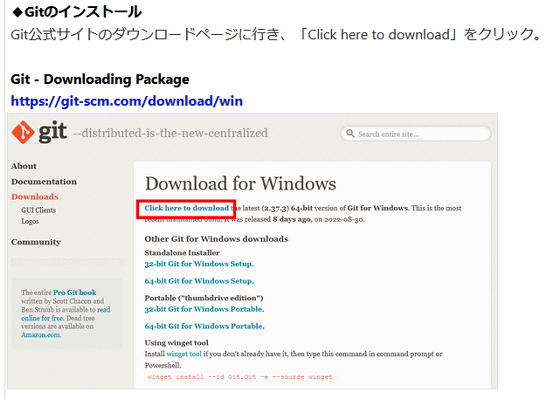
Next, download the files necessary to build Alpaca.cpp to your PC. This time, we will use the version control tool 'Git' to download the files, so if you do not have Git installed, please refer to the '
Image generation AI 'Stable Diffusion' can be run even with a 4GB GPU & various functions such as learning your own image can be easily run on Google Colabo or Windows. Summary of installation method for 'Stable Diffusion web UI (AUTOMATIC1111 version)' - GIGAZINE
Once Git is installed, open any folder on your PC, right-click on it, and click 'Open in Terminal.'
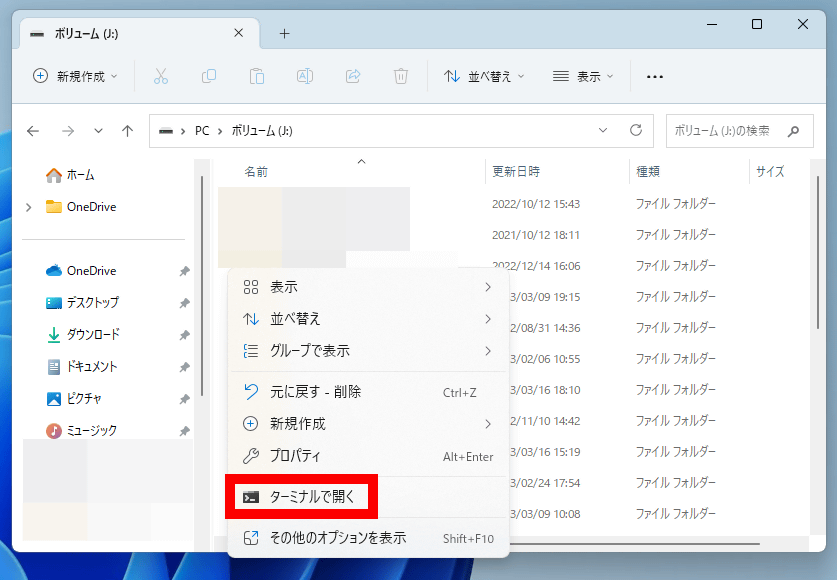
Then, Windows Terminal will start and the following screen will be displayed.

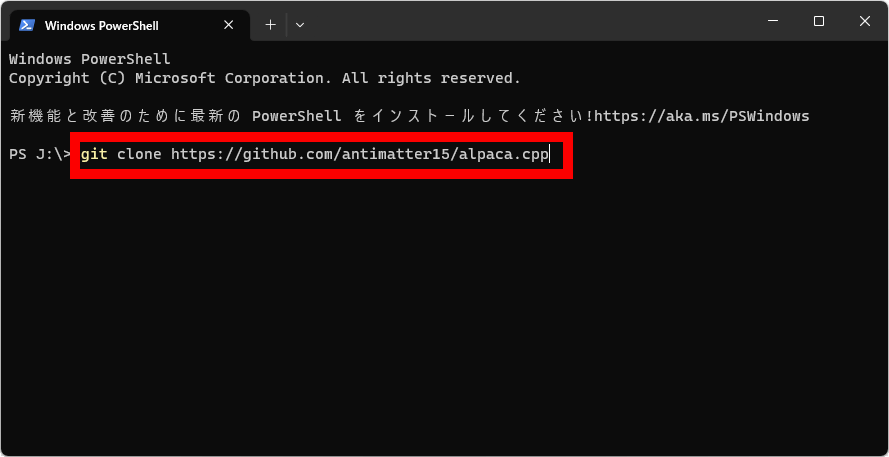
When the above screen appears, type the following command and then press Enter:
[code]git clone https://github.com/antimatter15/alpaca.cpp[/code]
It looks like this in the image. Just copy and paste the above command in its entirety and press Enter.
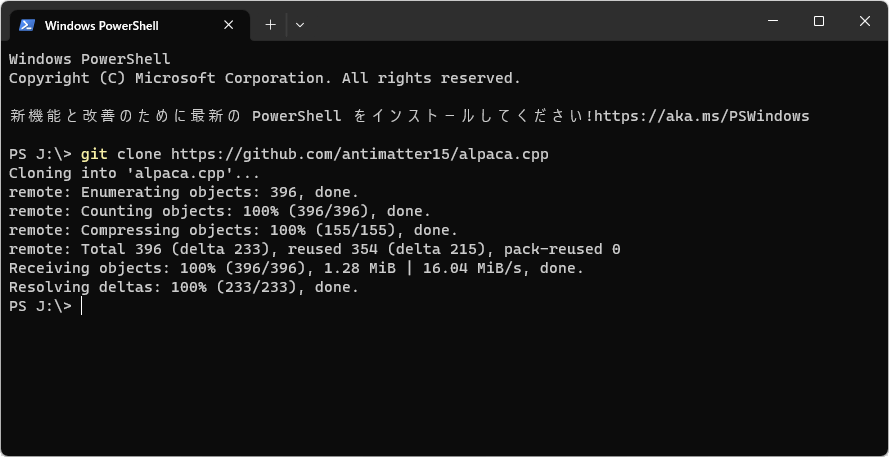
If you enter the correct command, the following text will appear and the necessary files will be downloaded.
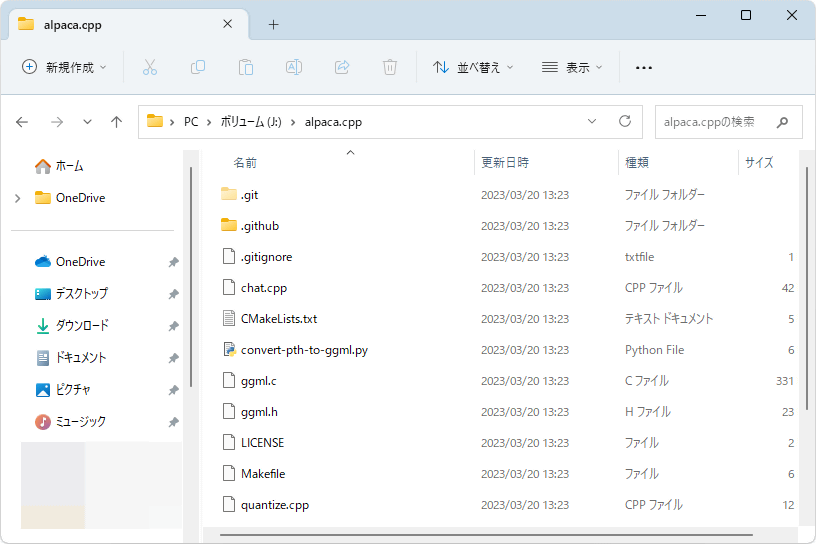
Once the file download is complete, a file called 'alpaca.cpp' will be added to the open folder. Double-click it to view its contents.
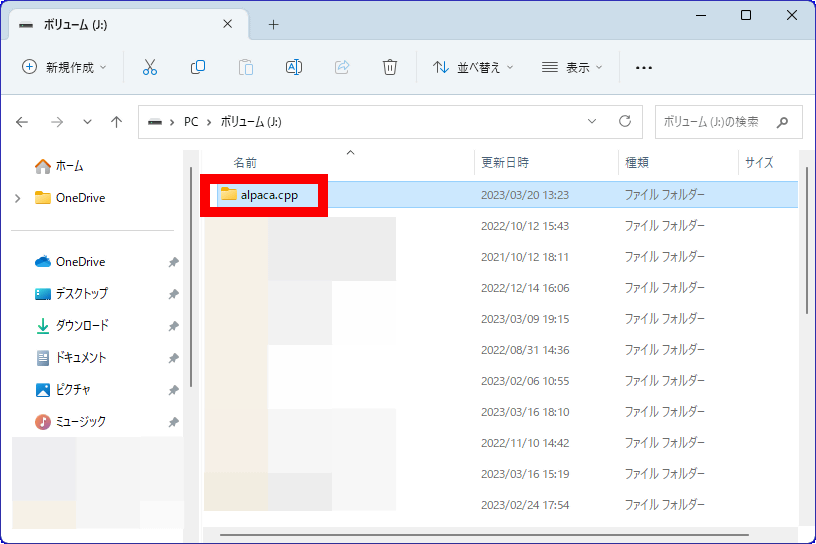
If the following files are saved in the 'alpaca.cpp' folder, the download of the necessary files is complete.
◆4: Build Alpaca.cpp
Next, right-click on an empty space in the 'alpaca.cpp' folder and click 'Open in Terminal'.
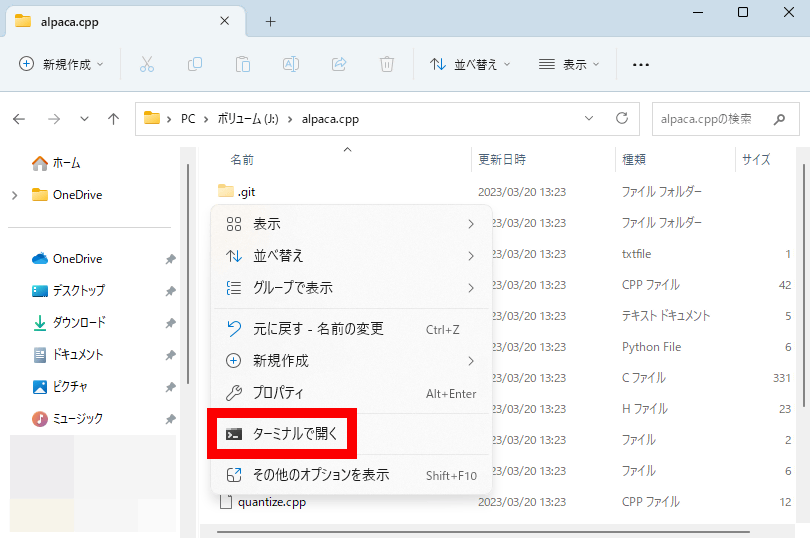
Then, Windows Terminal will start and the following screen will be displayed.
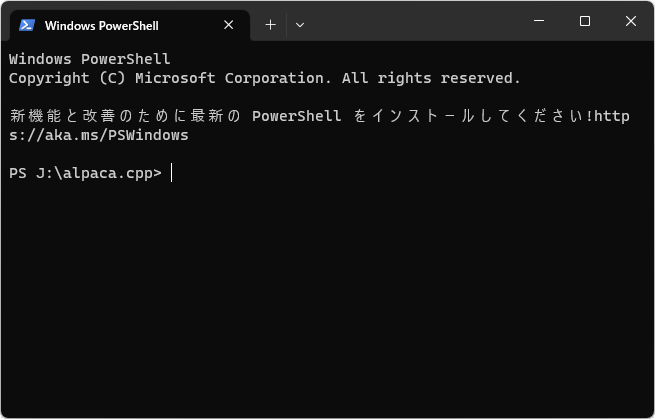
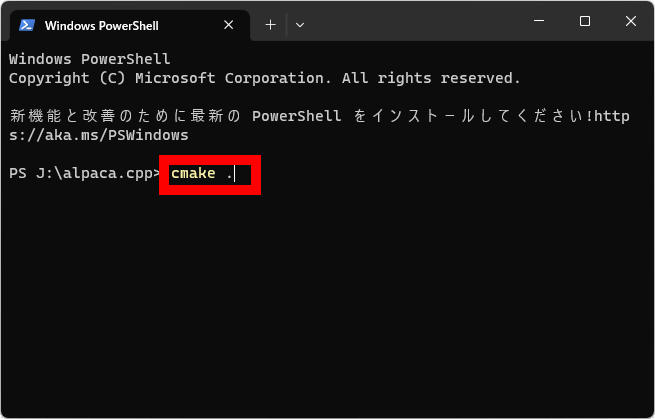
Next, run the following command. Be sure to include the '.' after the space.
[code]cmake .[/code]
It looks like this in the image. Just copy and paste this command and press Enter.
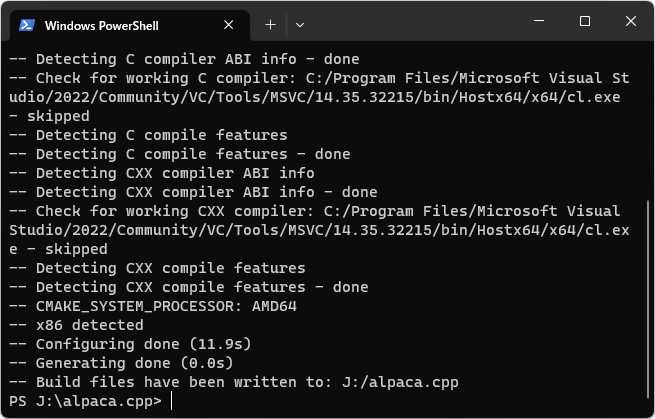
The text will scroll by, so wait for a while. When it finally displays '○○\alpaca.cpp', proceed to the next step.
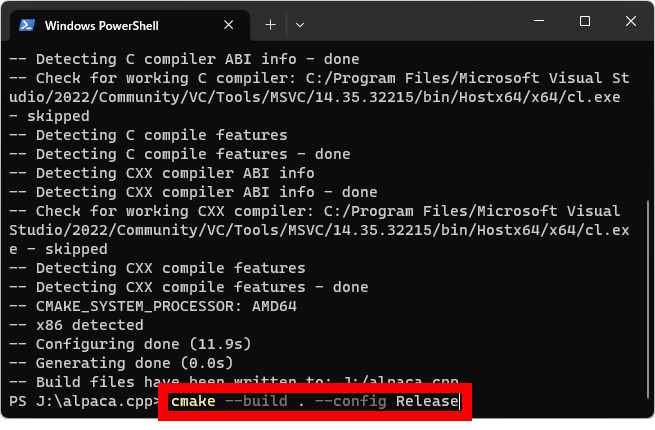
Now run the following command:
[code]cmake --build . --config Release[/code]
It looks like this in the image.
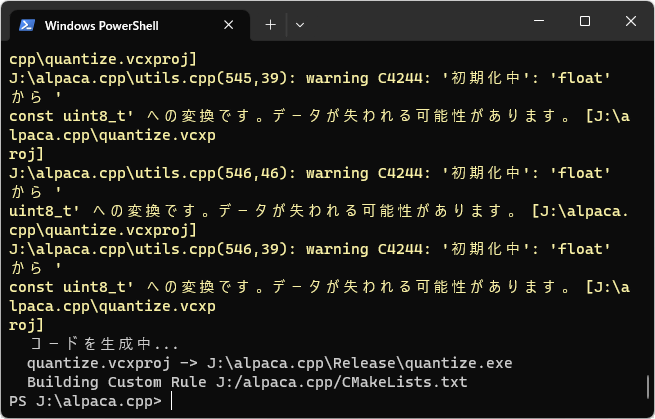
You will see a warning message saying 'Data may be lost,' but there is no problem. When you see 'XX\alpaca.cpp' at the end, the build is complete.
◆5: Download the Alpaca model data
Next, download the Alpaca model data (file size: 3.92 GB). The model data is distributed both directly and via Torrent. To download via Torrent, you will need a client such as
Direct Download Link
・https://gateway.estuary.tech/gw/ipfs/QmQ1bf2BTnYxq73MFJWu1B7bQ2UD6qG7D7YDCxhTndVkPC
・https://ipfs.io/ipfs/QmQ1bf2BTnYxq73MFJWu1B7bQ2UD6qG7D7YDCxhTndVkPC
・https://cloudflare-ipfs.com/ipfs/QmQ1bf2BTnYxq73MFJWu1B7bQ2UD6qG7D7YDCxhTndVkPC
(Requires Torrent-compatible software) Torrent file
・https://btcache.me/torrent/5AACEAEC63B03E51A98F04FD5C42320B2A033010
・https://torrage.info/torrent.php?h=5aaceaec63b03e51a98f04fd5c42320b2a033010
・Magnet links
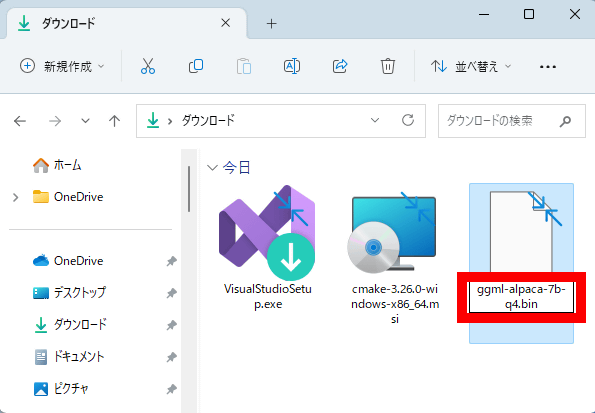
Once the download is complete, select the file and press F2.
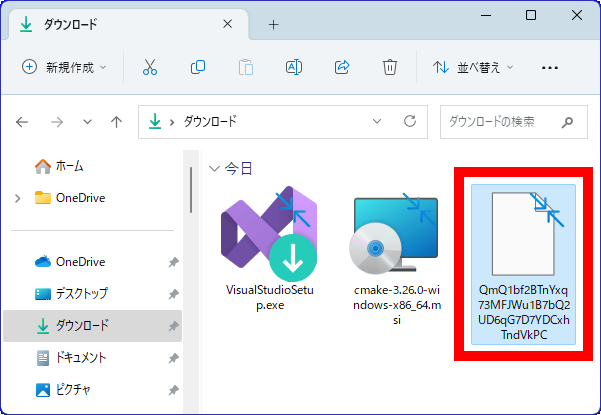
Once you are able to change the name, change it to 'ggml-alpaca-7b-q4.bin'.
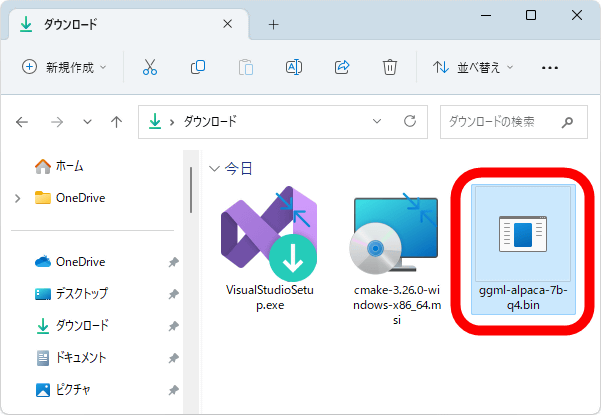
If the bin file is created as shown below, it's OK.
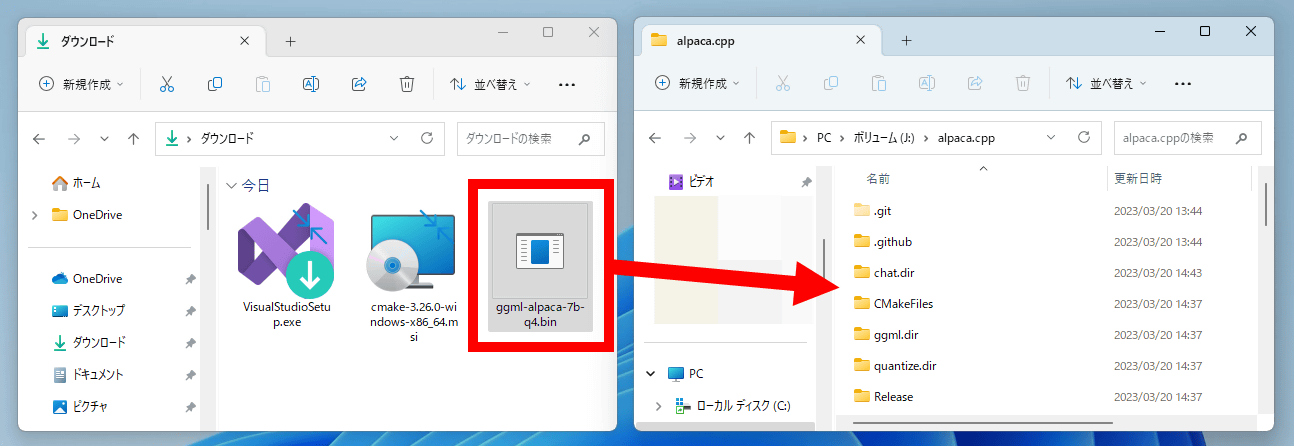
Move the resulting bin file to the 'alpaca.cpp' folder.
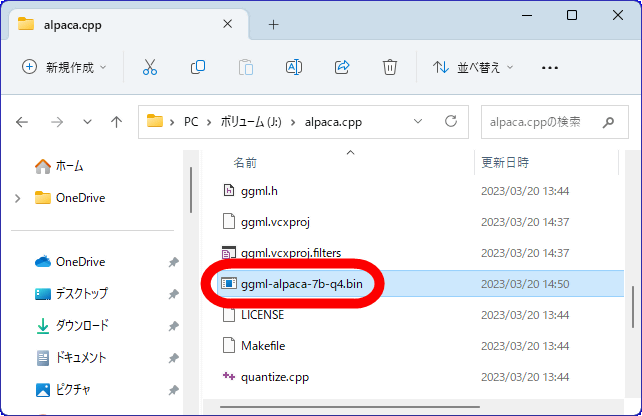
Once 'ggml-alpaca-7b-q4.bin' exists in the 'alpaca.cpp' folder, the model data is ready.
◆6: Start the chat AI
To start the chat AI, follow these steps: First, open the 'alpaca.cpp' folder, then right-click on the blank space and click 'Open in Terminal.'
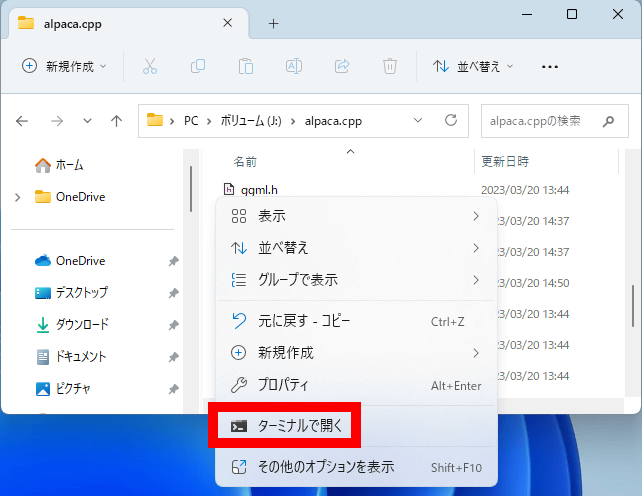
This will launch Windows Terminal.

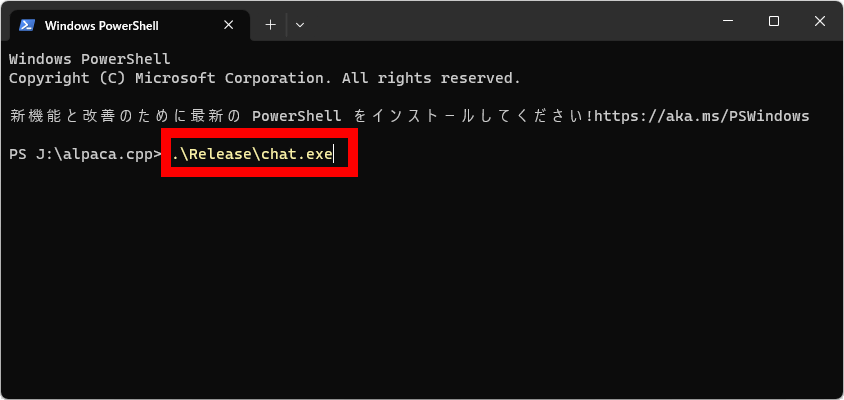
Next, run the following command.
[code].\Release\chat.exe[/code]
It looks like this in the image.
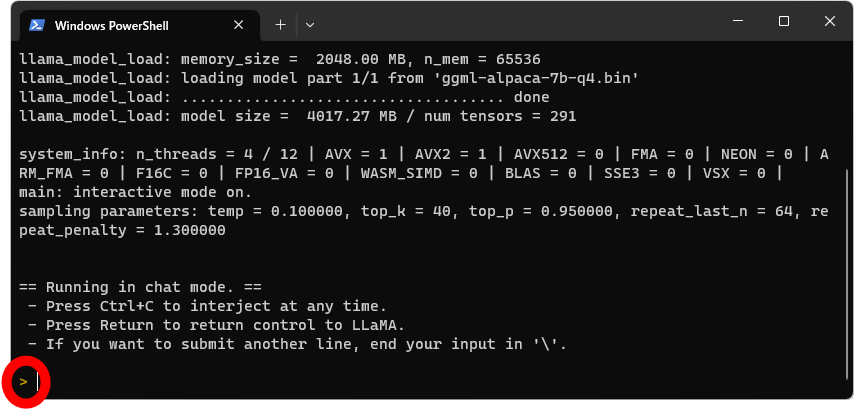
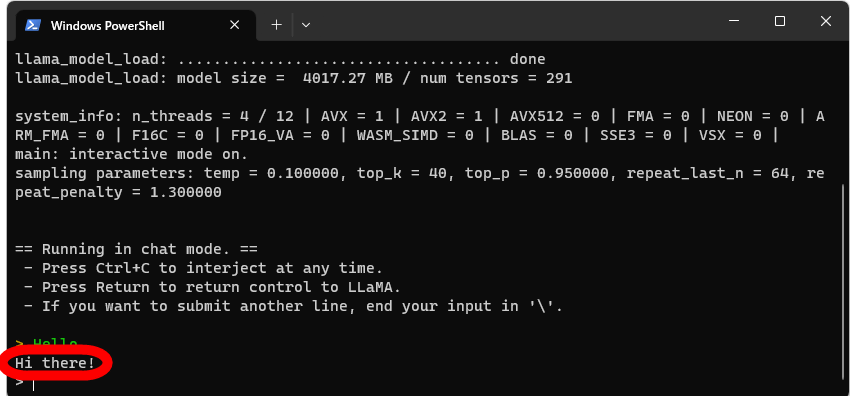
When the text starts to flow and ']' appears at the bottom, the chat AI has been launched.
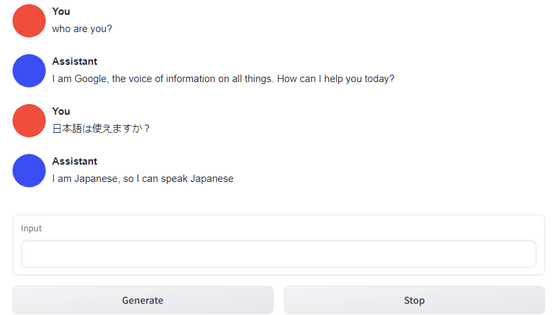
All you have to do is enter a sentence and press Enter, and the AI will respond. I tried entering 'Hello' and pressing Enter.
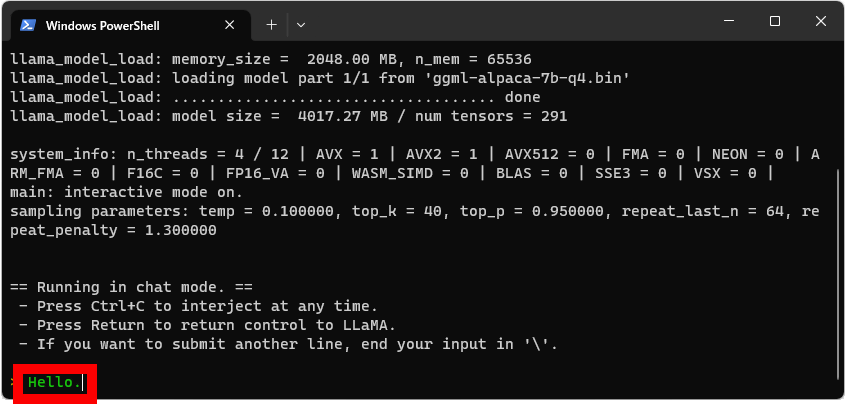
The AI responded, 'Hi there!'
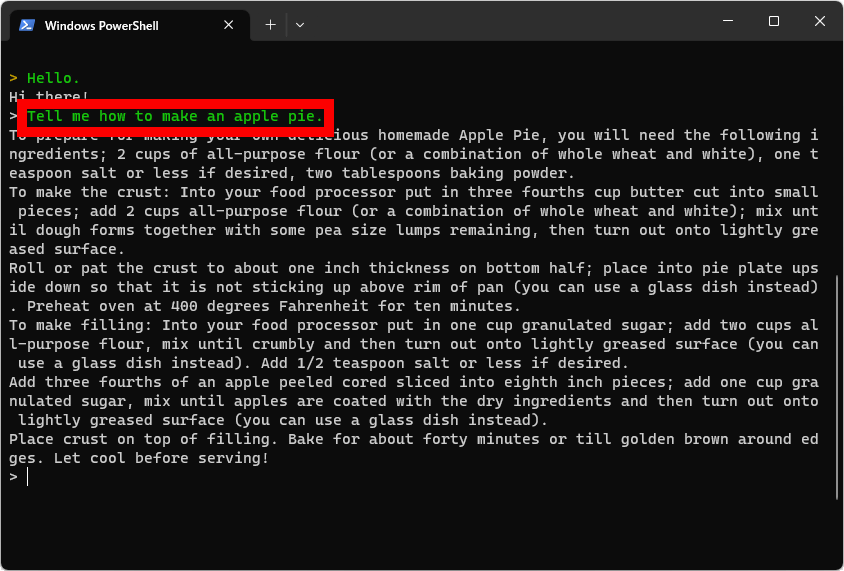
If you type 'Tell me how to make an apple pie,' it will give you a recipe for apple pie.
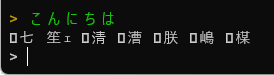
However, Alpaca does not seem to support Japanese, and when I typed 'hello' I got a garbled, incomprehensible response.
Related Posts:


in AI, Review, Web Application, Posted by log1o_hf